My friend recent bought an iMac (Retina 5K, 27-inch, Late 2015) and asked me to perform a SSD upgrade. To many, opening up an all glass iMac display can be a daunting tasks; this is especially true if you don’t have the proper parts and experience. iFixit and OWC are great resources as reference but I still discourage my friends from attempting it because it could very well ended up to be a very expensive display replacement ($600+) should something goes wrong not limiting to breaking the glass and destroying the connectors on the logic board.
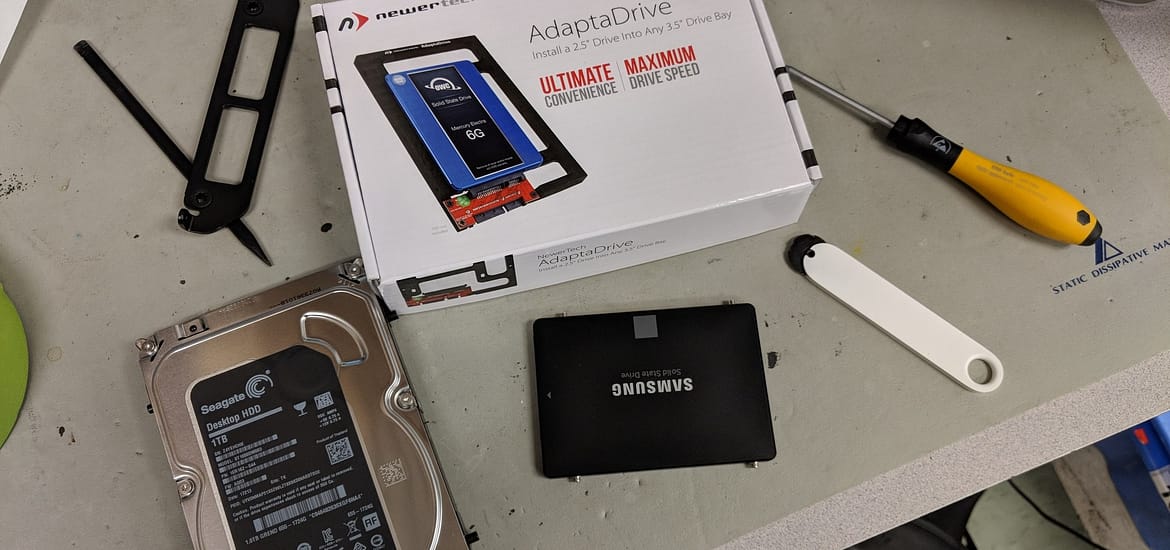
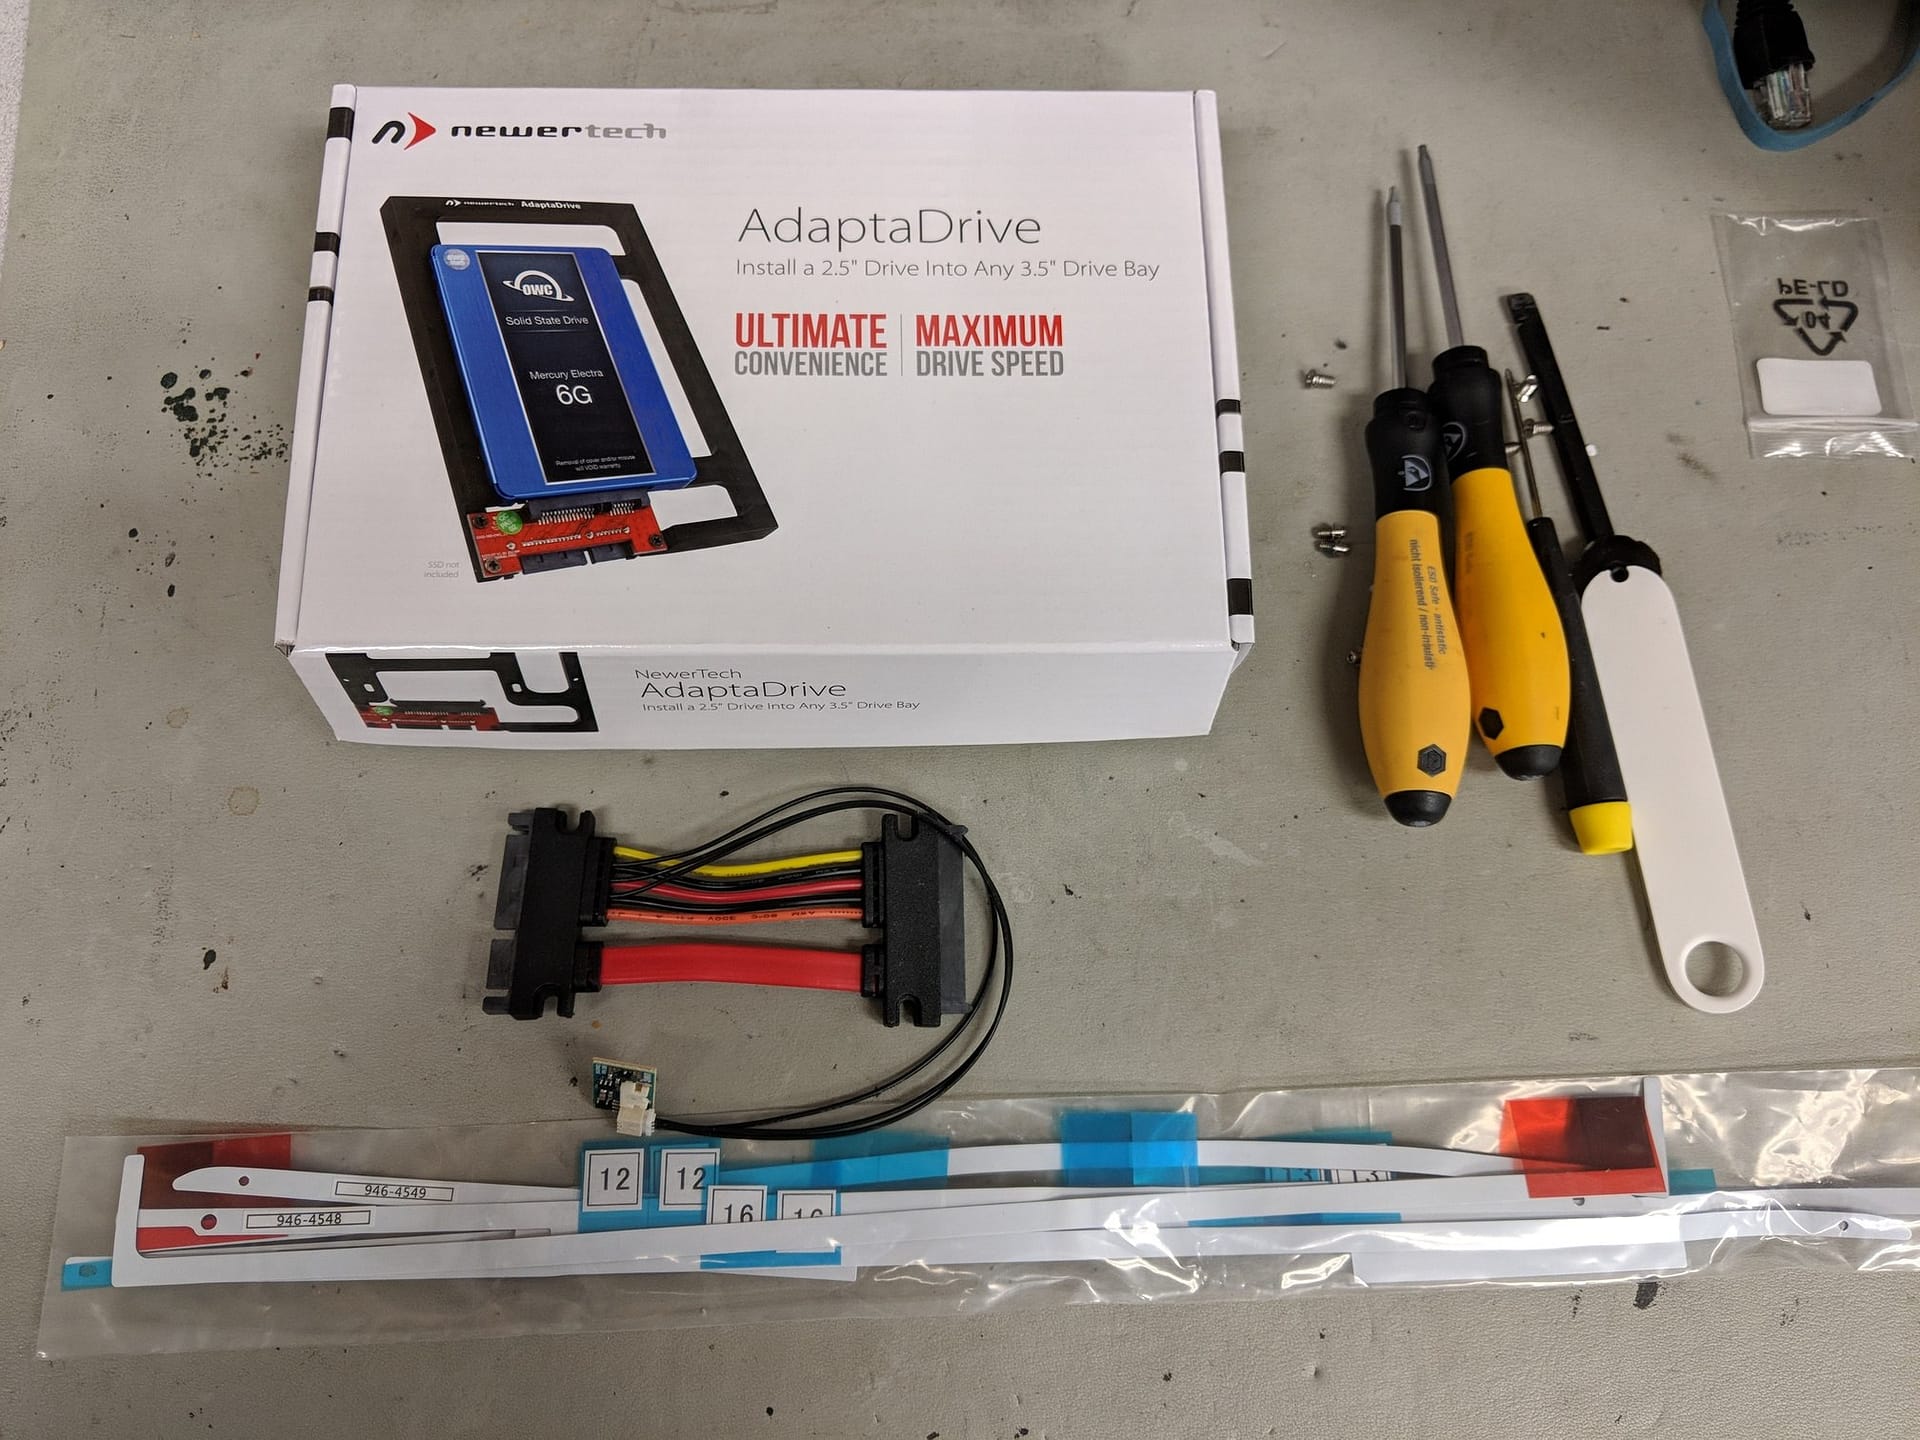
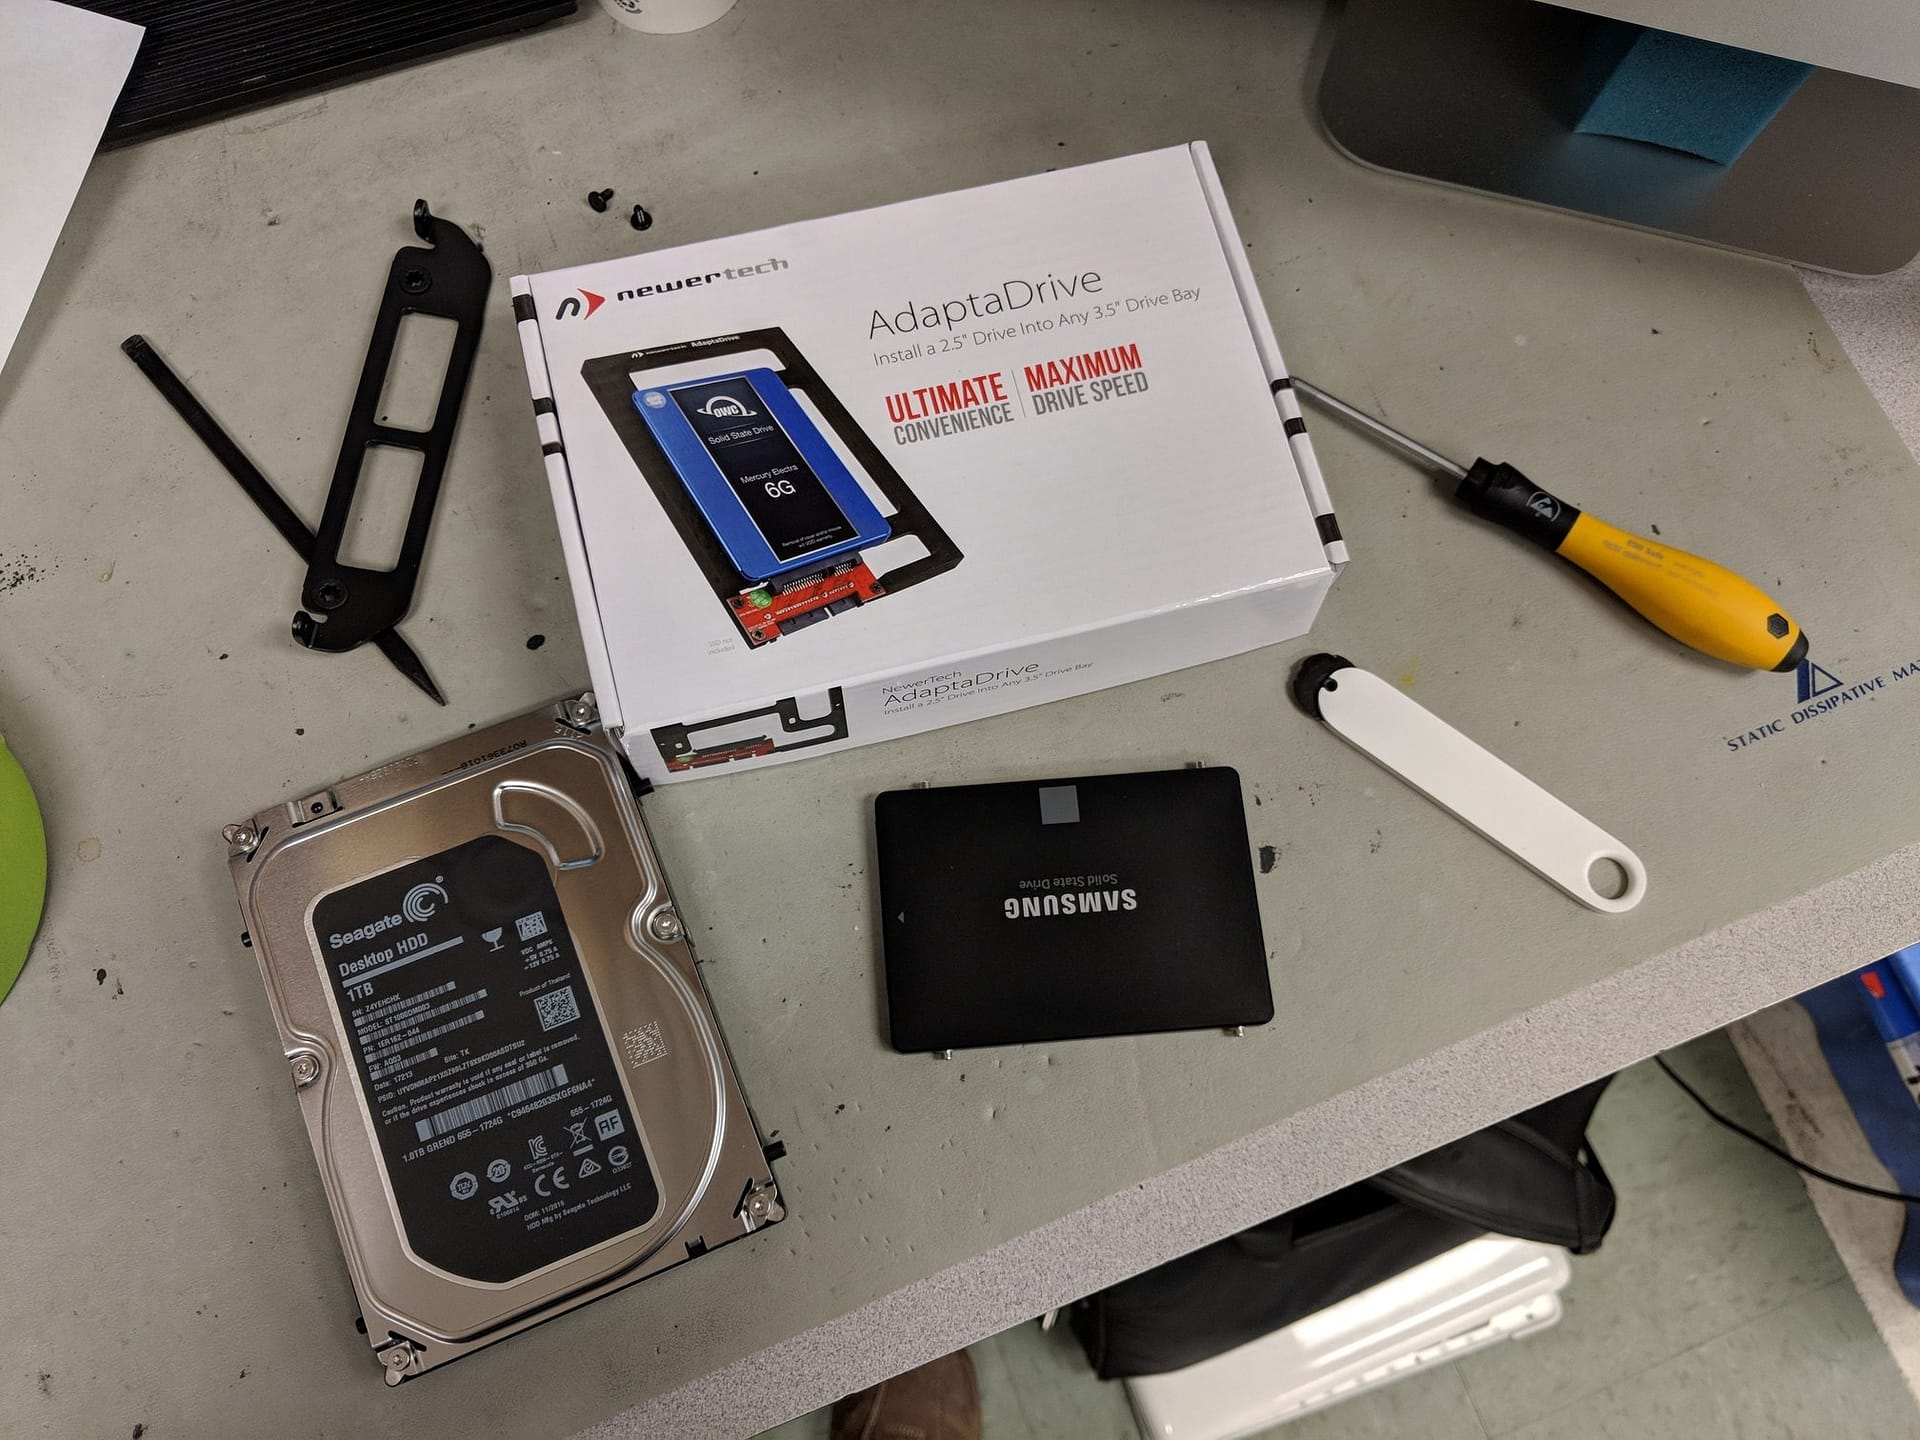
For the 27″ hard drive replacement, I have to pick up the Inline Thermal Sensor and AdaptaDrive brackets from OWC.
This post is my diary on replacing the internal hard drive (HDD) on my friend’s 27″ iMac.
Cutting The Display
All of the 2012 and later iMac LCD panel and glass are fused together as 1 assembly. The display assembly is held onto the housing with a type of 3M adhesive called Very High Bond (VHB) tapes, completely screwless. Based on my research, 3M claims the VHB will hold up for at least 25 years. Previous models (aka Silver-Backs) are using strong magnets to hold the glass onto the housing and the LCD panel is sandwiched in between with screws. Every time when I open a new iMac, I have to replace all the adhesives once they are cut.
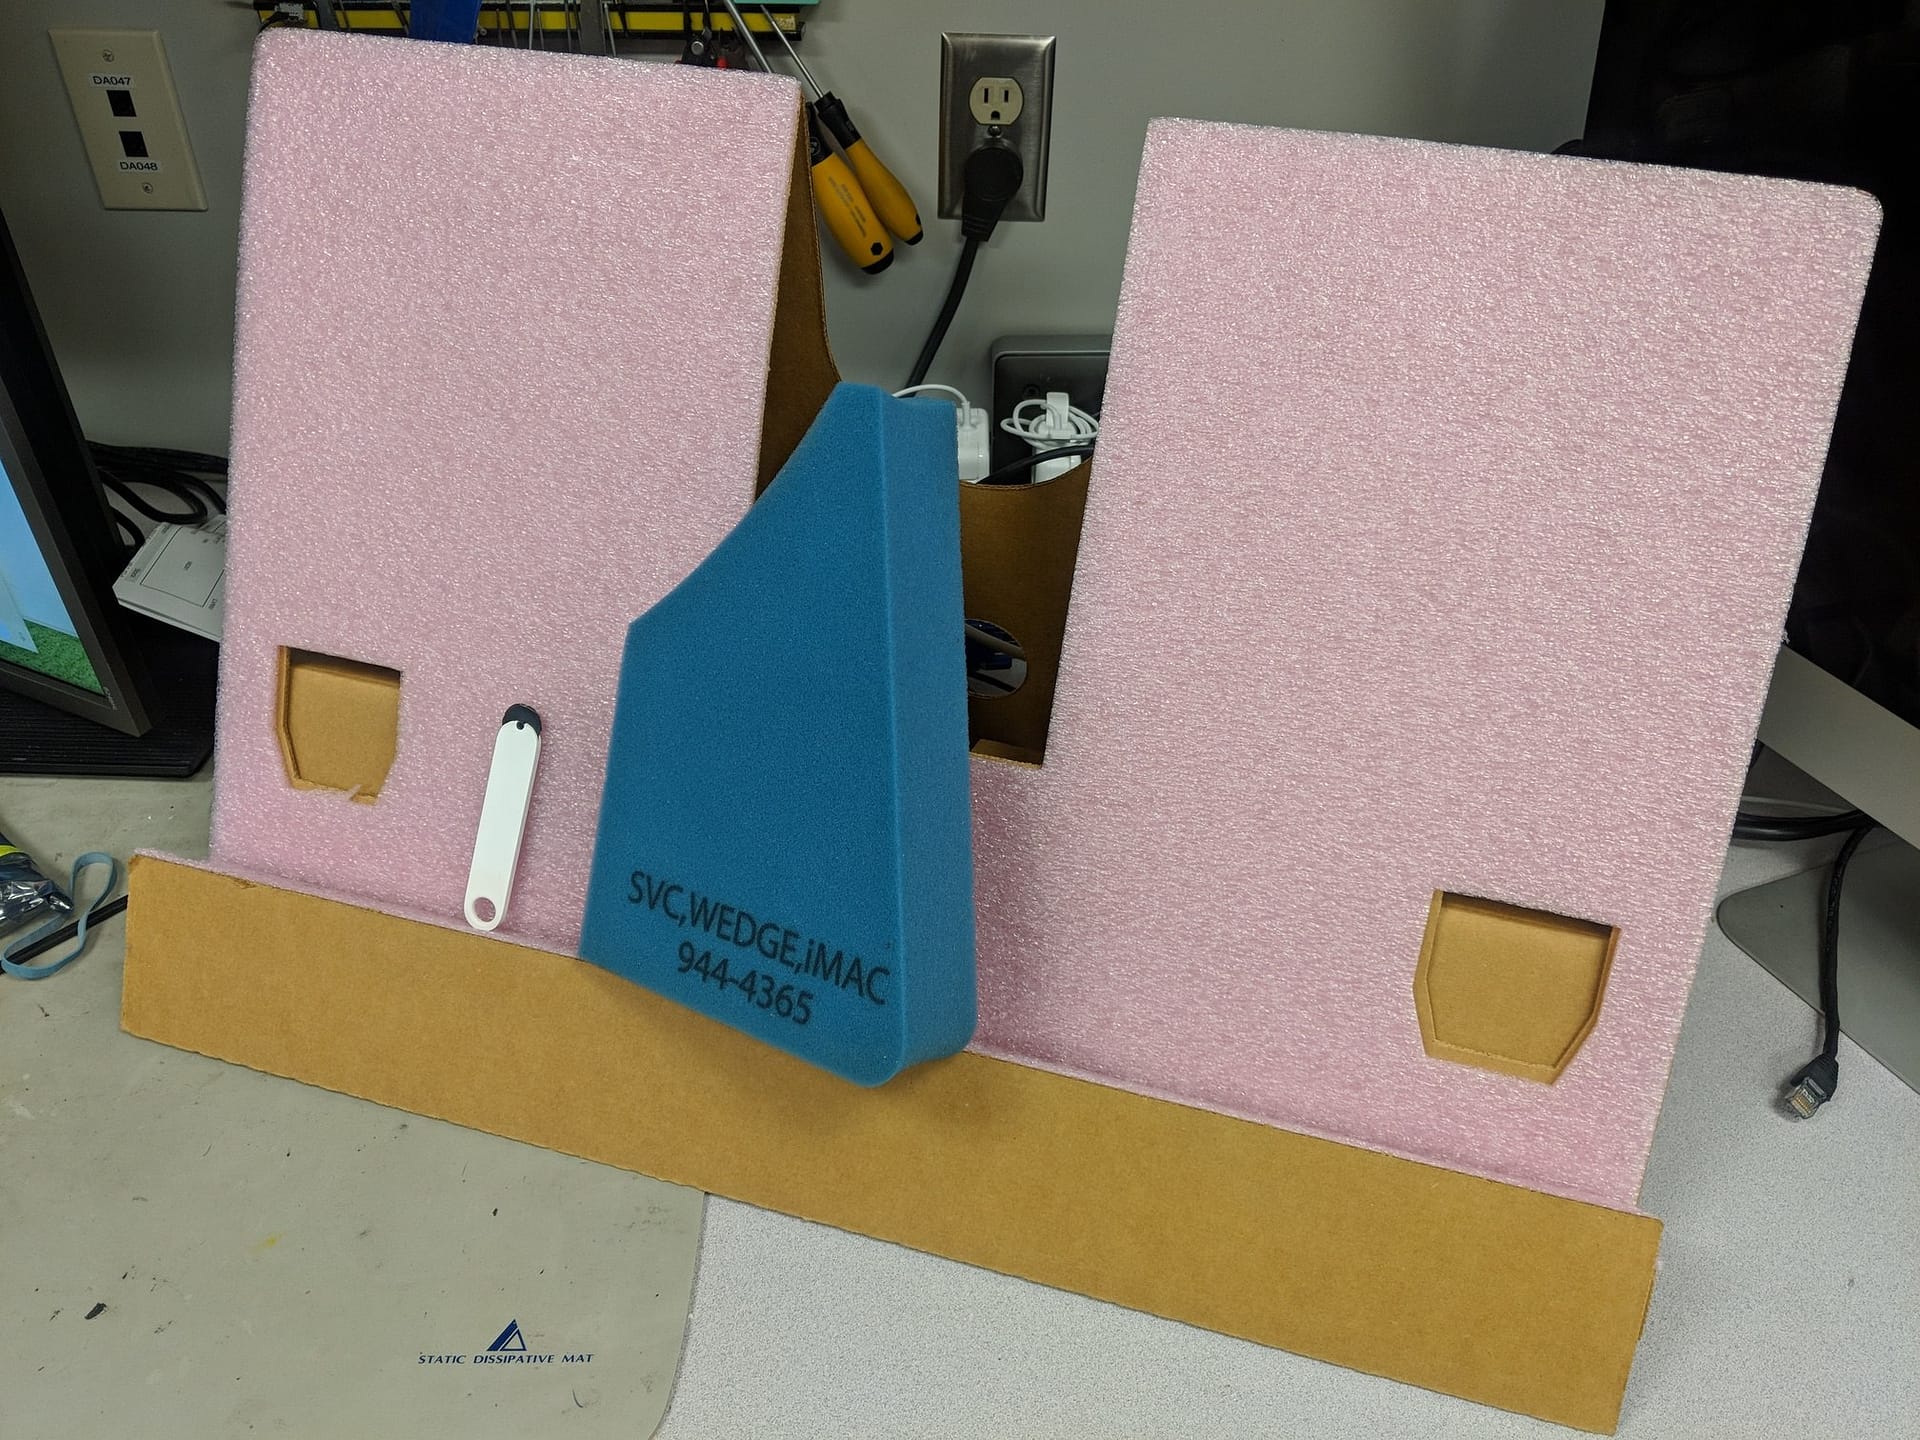
For this take apart, the tools I need will be the iMac display foam block (to prevent the iMac hinge from moving and keeps the display on an angle so it doesn’t fall down), the display adhesive or pizza cutter and the display stand. I will also need the typical torx driver set to remove the screws holding the speaker and hard drive.
First, I ensure the iMac is unplugged from power for at least an hour to discharge any residual currents from the power supply. I run the pizza-cutter between the glass and the aluminum housing and cut into the VHB. I need to run it along the top, left and right sides of the iMac a few times to ensure a complete cut. The corners requires multiple runs to cut completely. The roller of the pizza cutter is plastic and it only cuts down to 0.5mm of the VHB strip. This is designed in a way that it doesn’t cut too deep to damage other components. Once I can lift the display from the top without too much resistant, I run the cutter again to loosen up the rest of the adhesive; the display should be able to tilt away from the housing. At this point, prying will crack the glass so I have to be patience about removing all the adhesive so the display can come free. I apply a long strip of masking tape at the bottom of the display in case the glass separate from the housing BEFORE moving forward.
Removing The Display
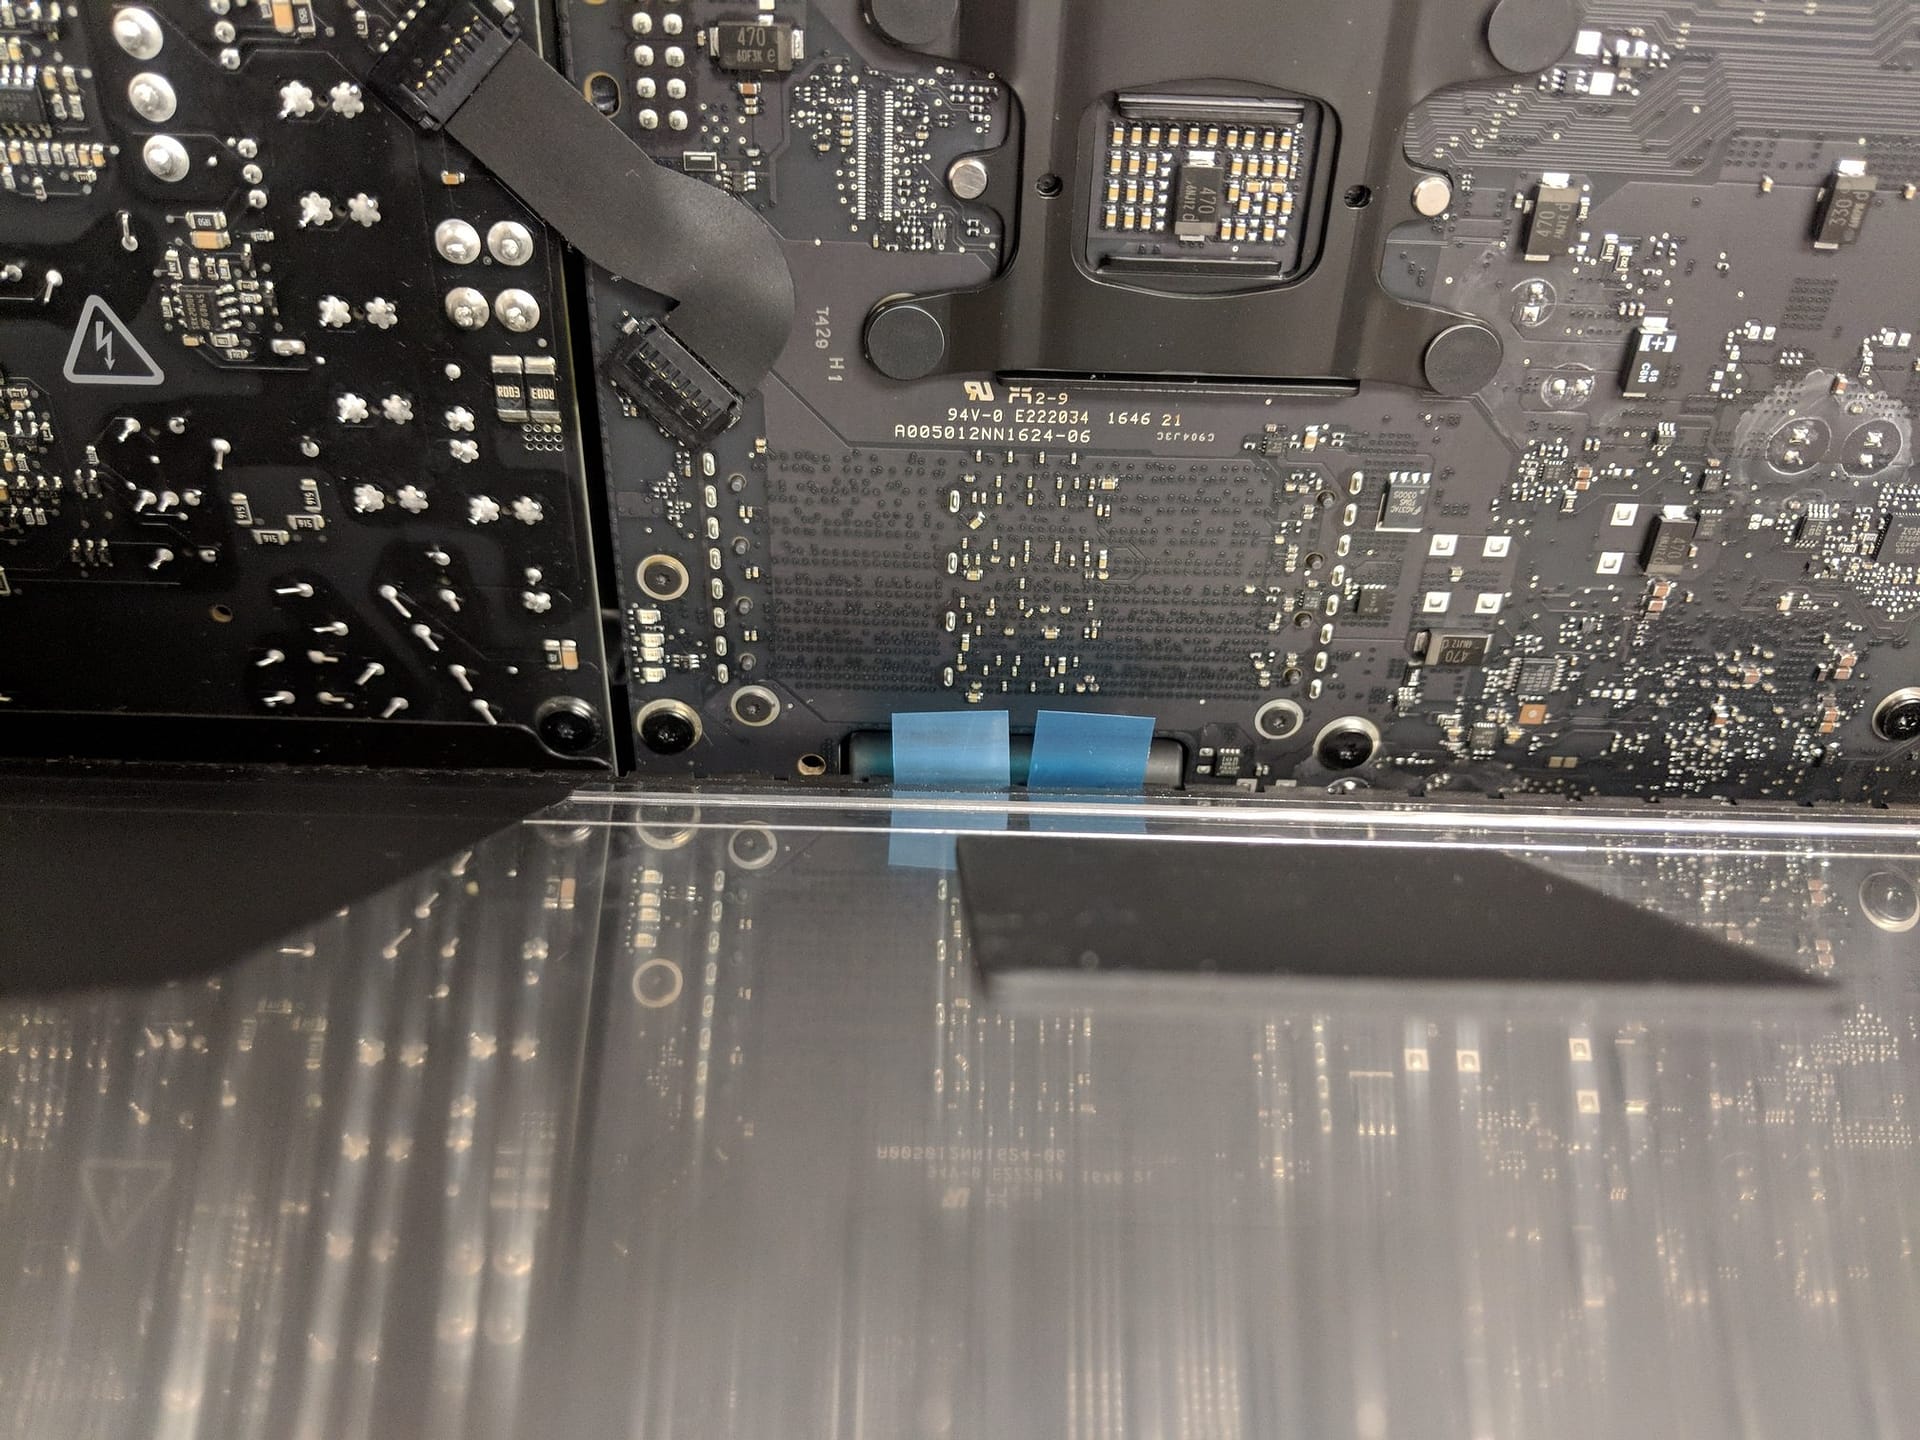
Next, I tilt the glass towards me slowly and carefully away from the housing, just enough to stick my hand inside to remove the cables. This model has 3 cables (LCD temperature, signal (LVDS) and power) to be removed by sliding it upward (DO NOT PULL TOWARDS THE GLASS). The LVDS is held secure by a small metal bracket, there is a tiny plastic flap that I can easily flip up and then detach the cable by sliding it upward. The temperature sensor and power can be removed easily without tricks.
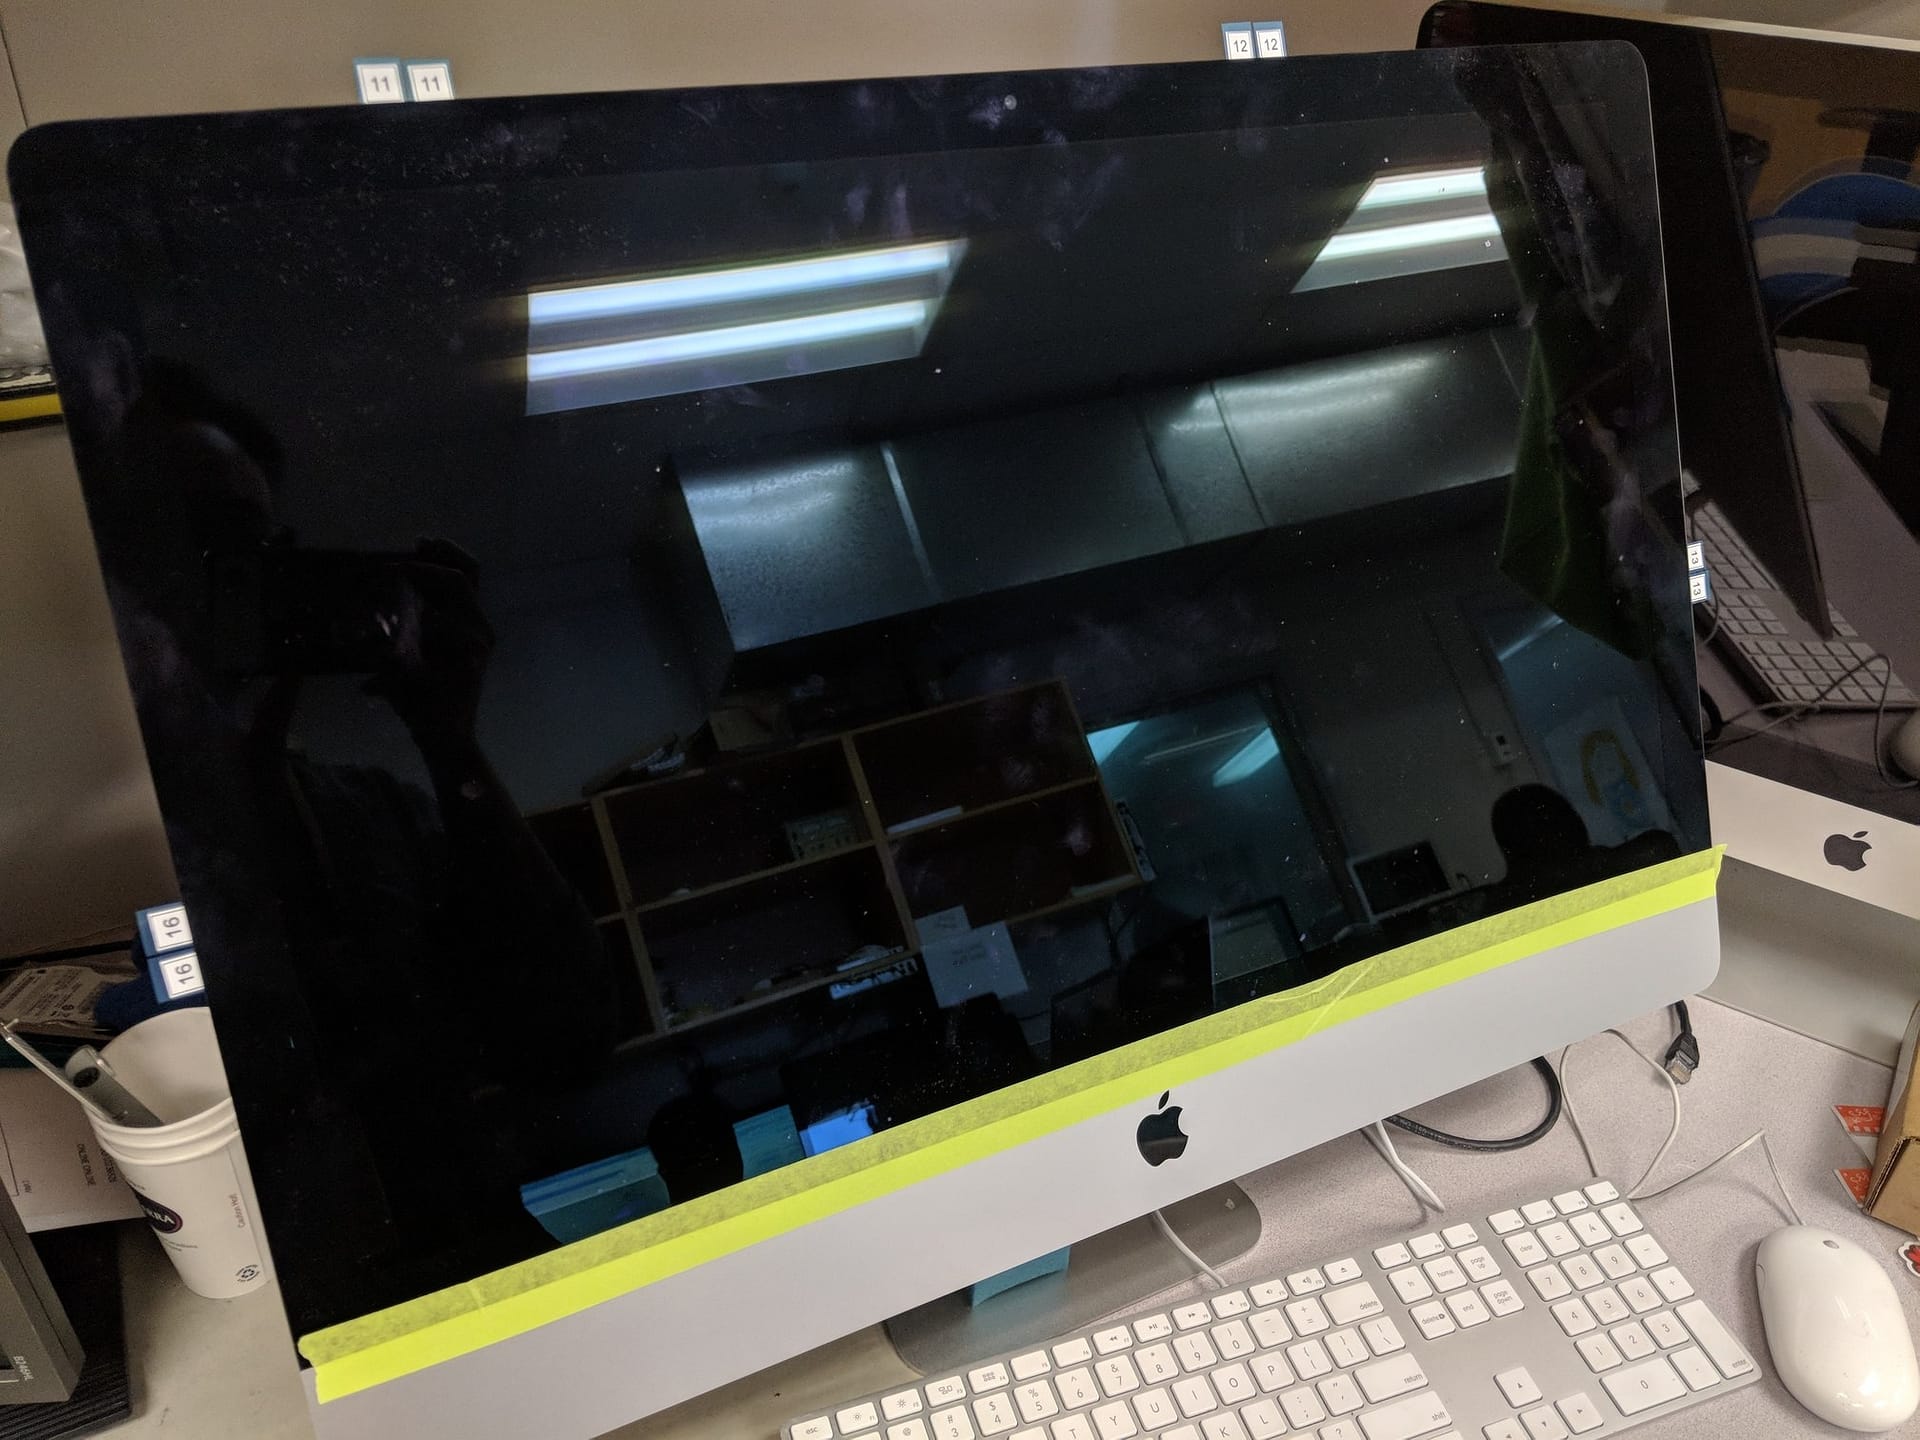
When all cables are loosen, I lower the glass down to make a 90 degrees angle. I use one hand to hold onto the underside of the glass and let it sit on my hand, with the bottom 2 strips of adhesive still attached to the housing. There are 2 pull “L” shape pull tabs on left and right side that can be pulled toward the center. While I hold the display with one hand, I pull the pull tabs with another hand. The display should ends up being held ONLY with a green tape. I wiggle the display slightly to detach it from the housing, then I put the now separated display on the display stand, silver/cable side facing me.
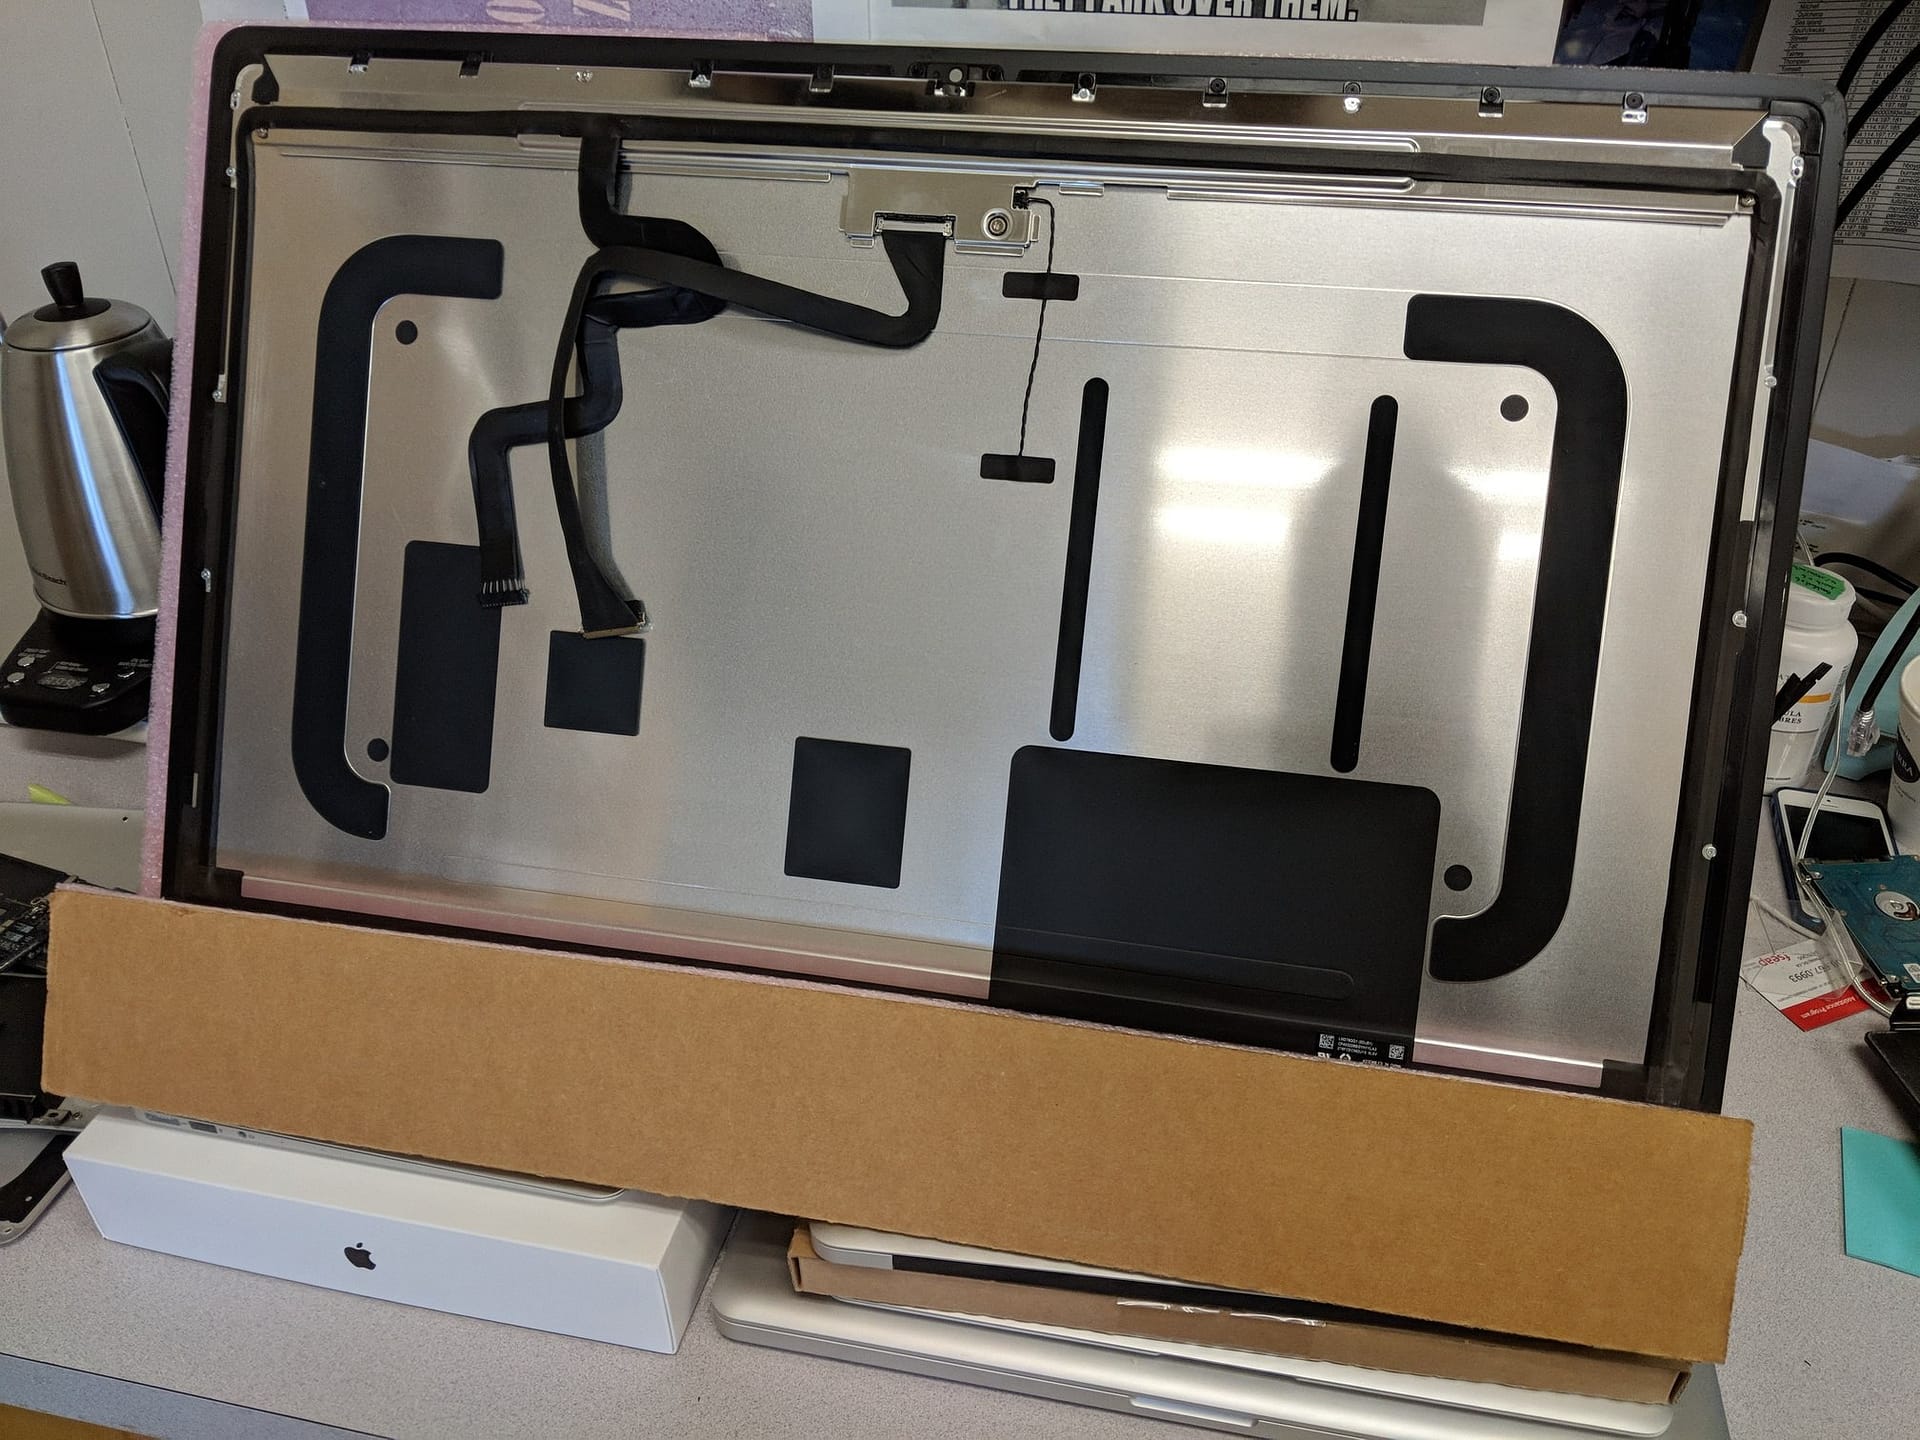
I use a black stick or guitar pick to carefully peel off the previously cut foam like adhesive on the housing and the back of the glass. I use a rolling action where I just roll up the end of the adhesive and I am able to peel it as one piece at a time with no residue. On the glass, there are black mylar tapes end on each corner and I ensure I only peel out only the foam strip. The rolling action should prevent accidental removal of the mylar tape. Remove any adhesive residual with Goo-Gone and then clean with rubbing alcohol. The new adhesive must be applied on clean surface.
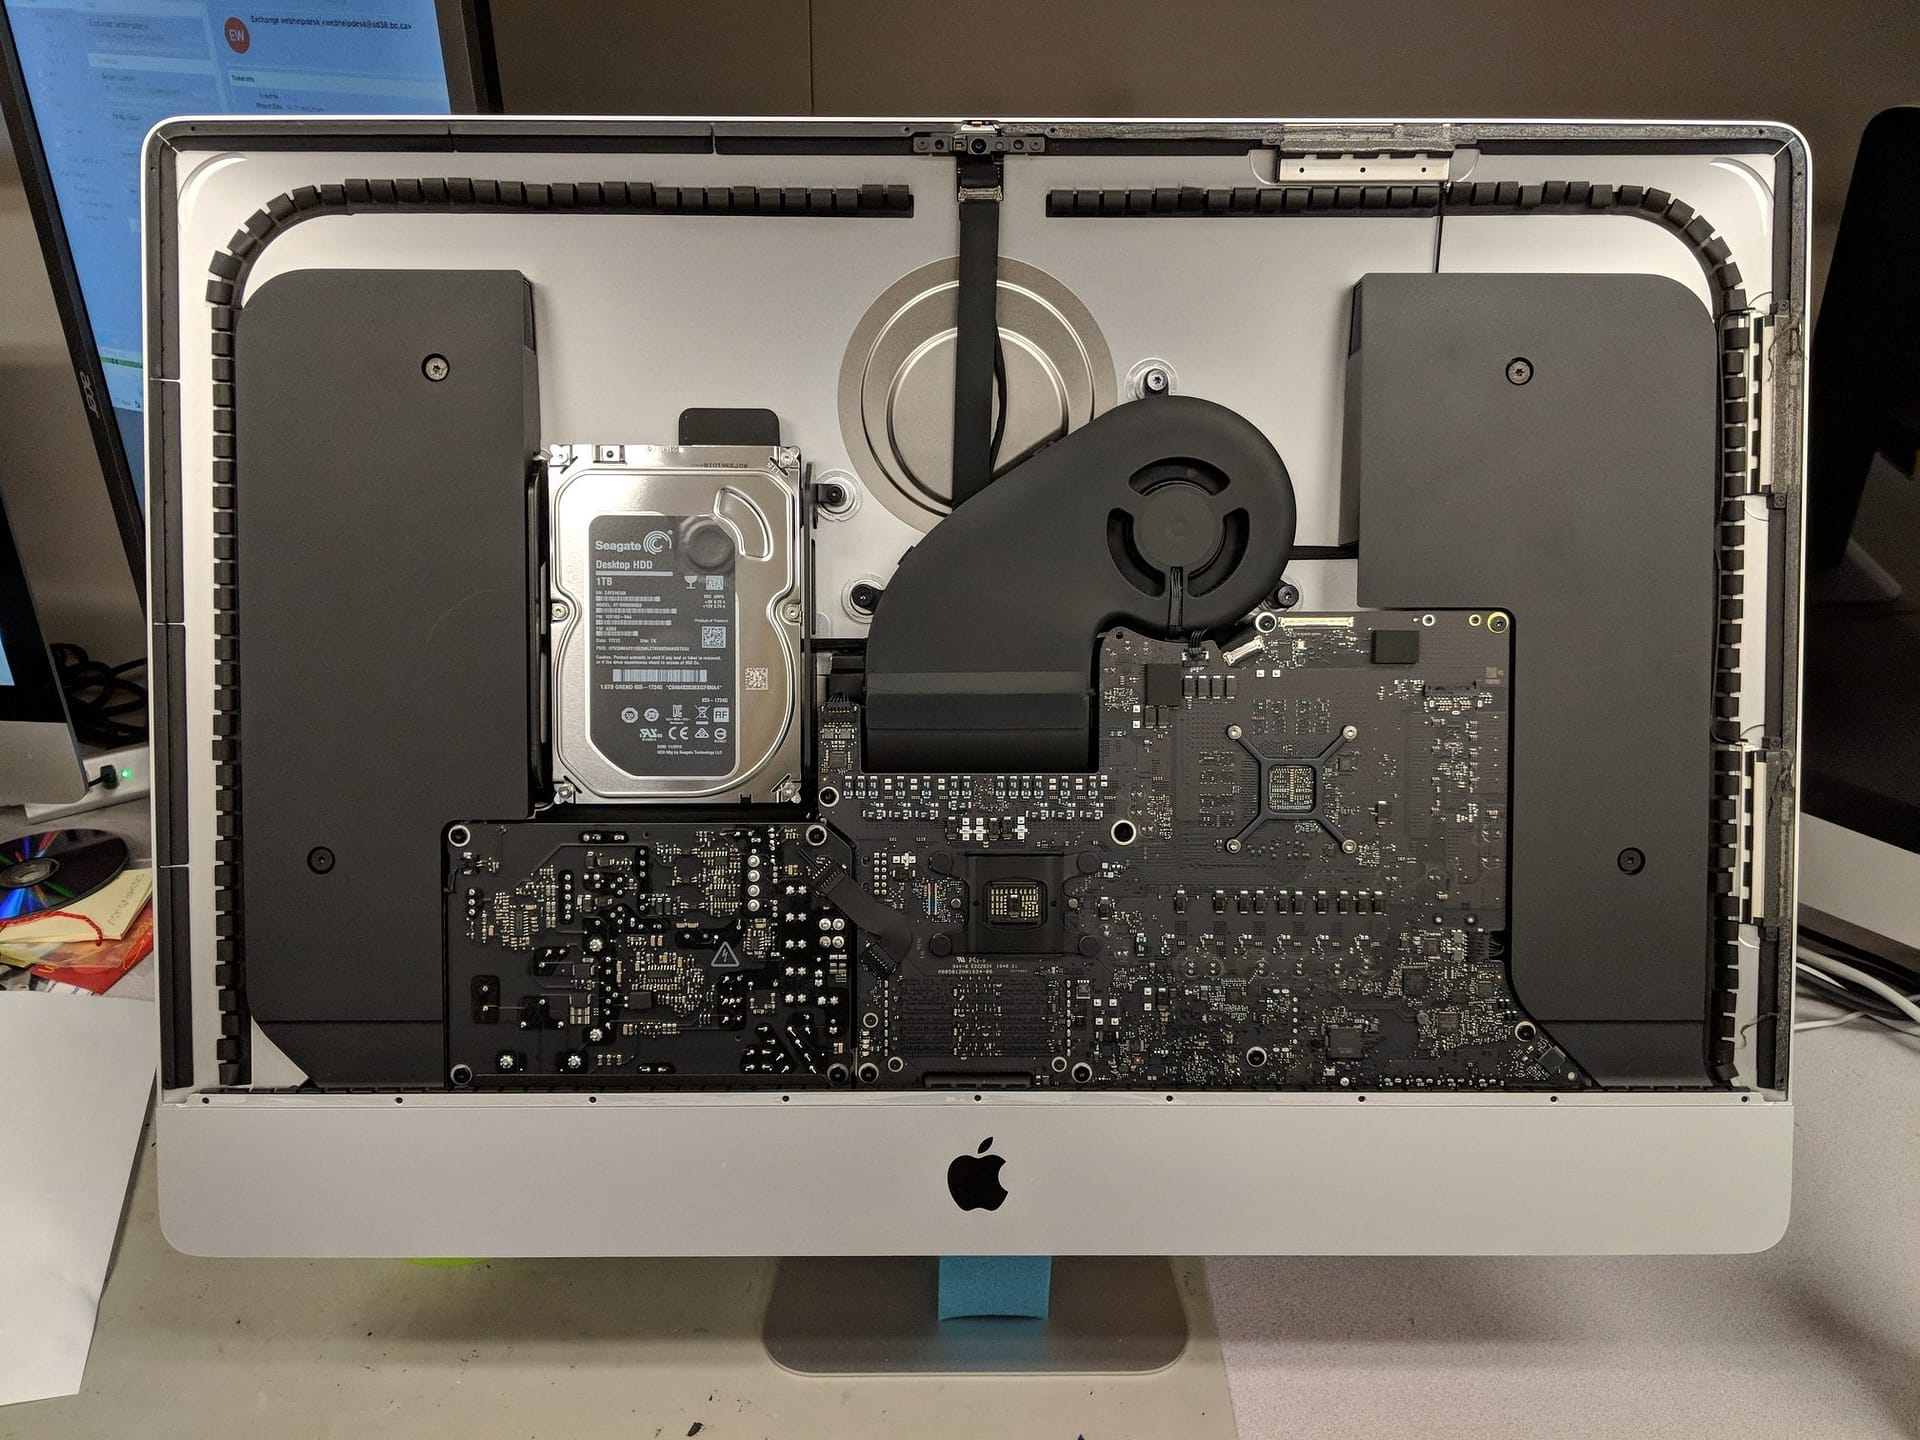
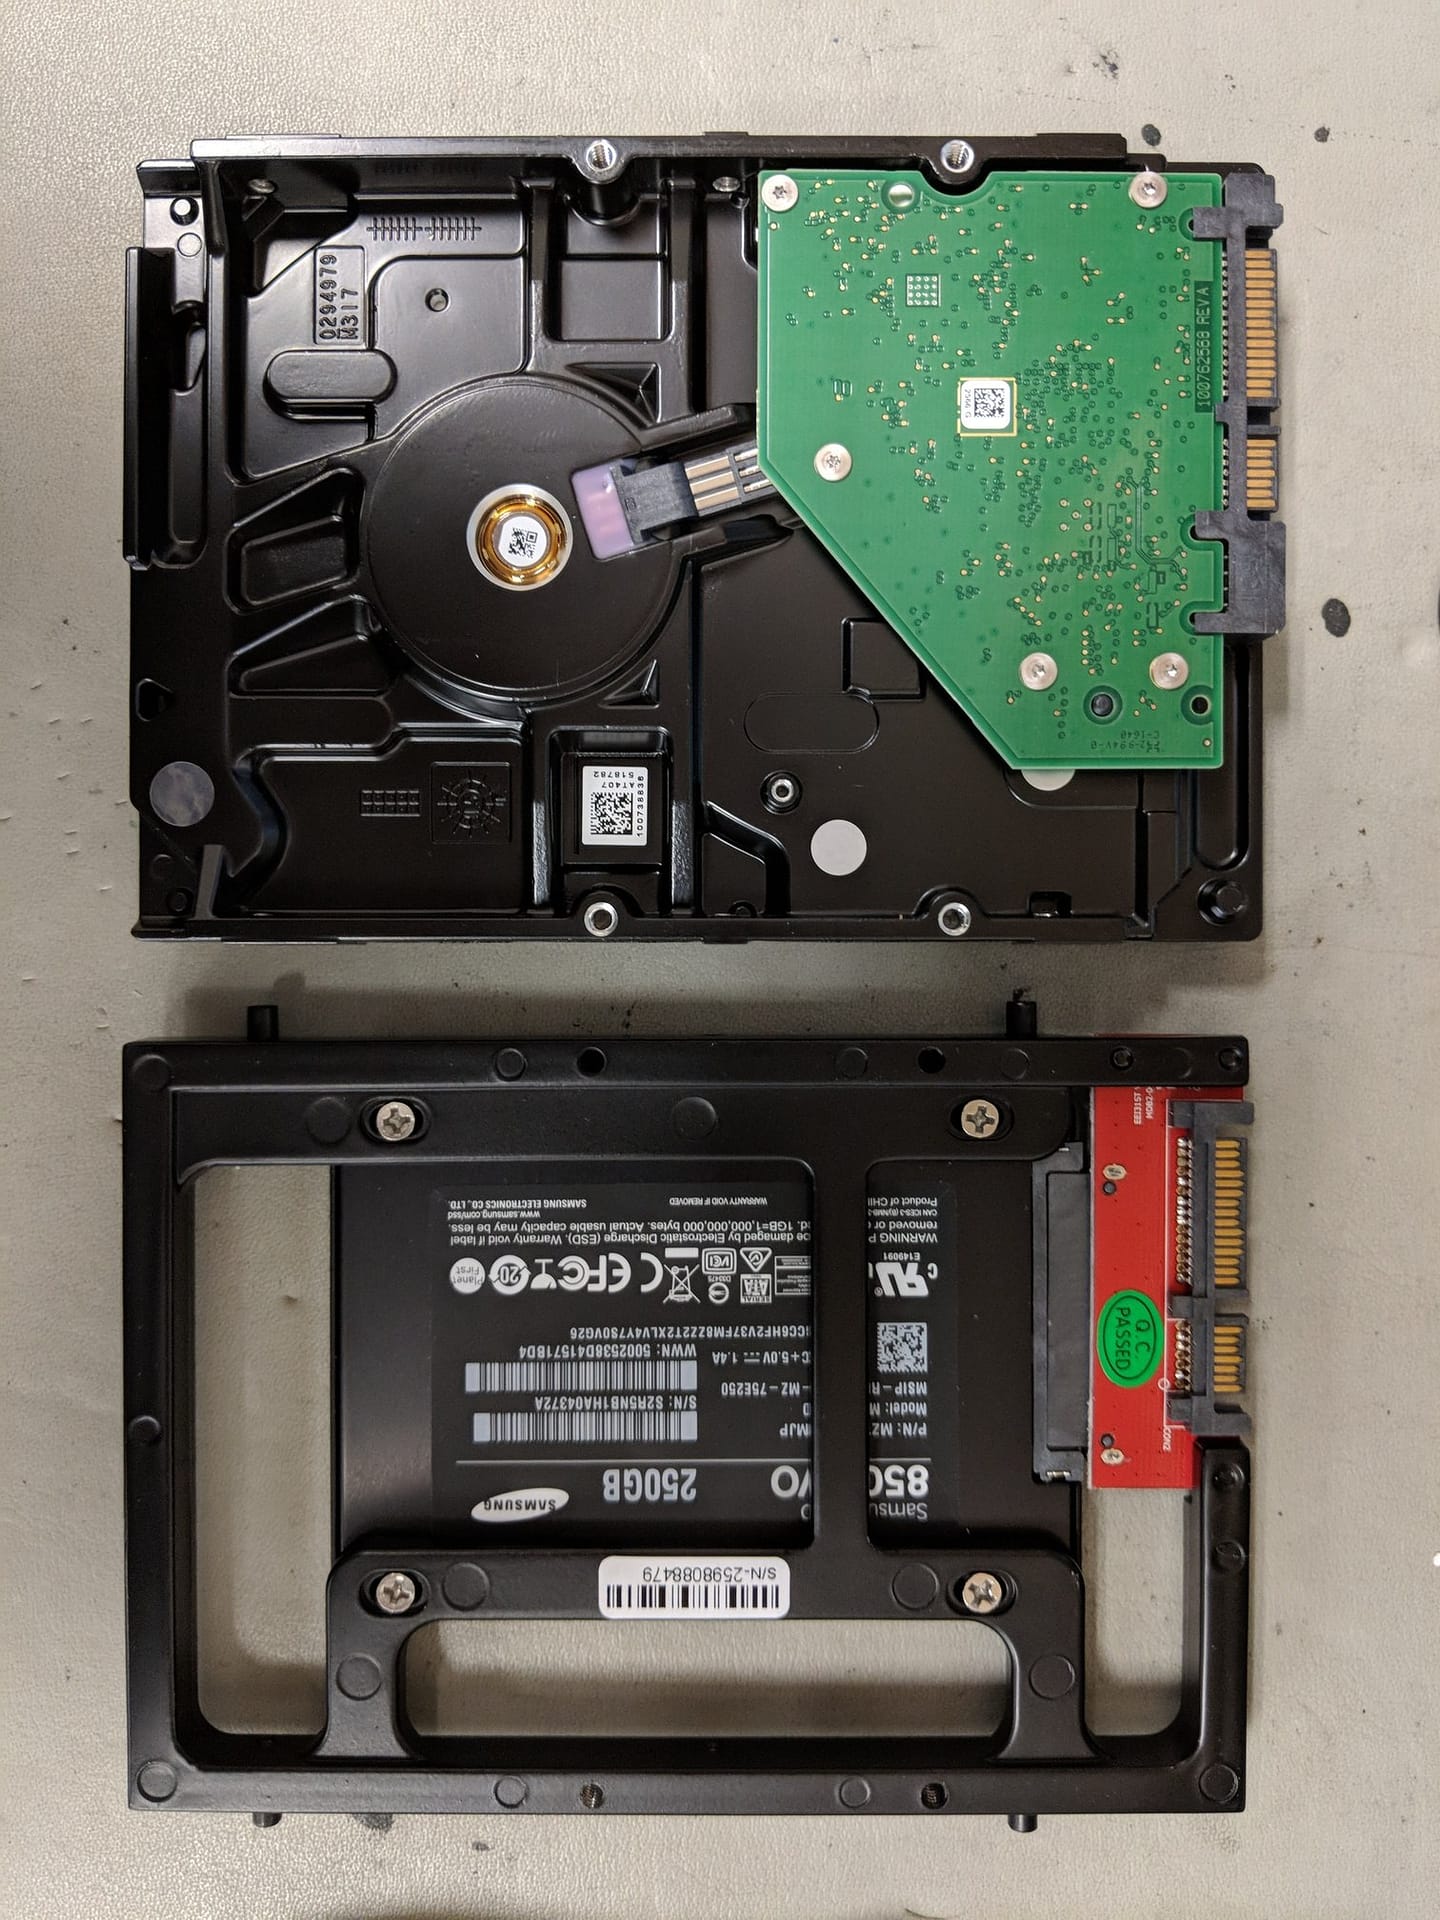
Replacing The Hard Drive
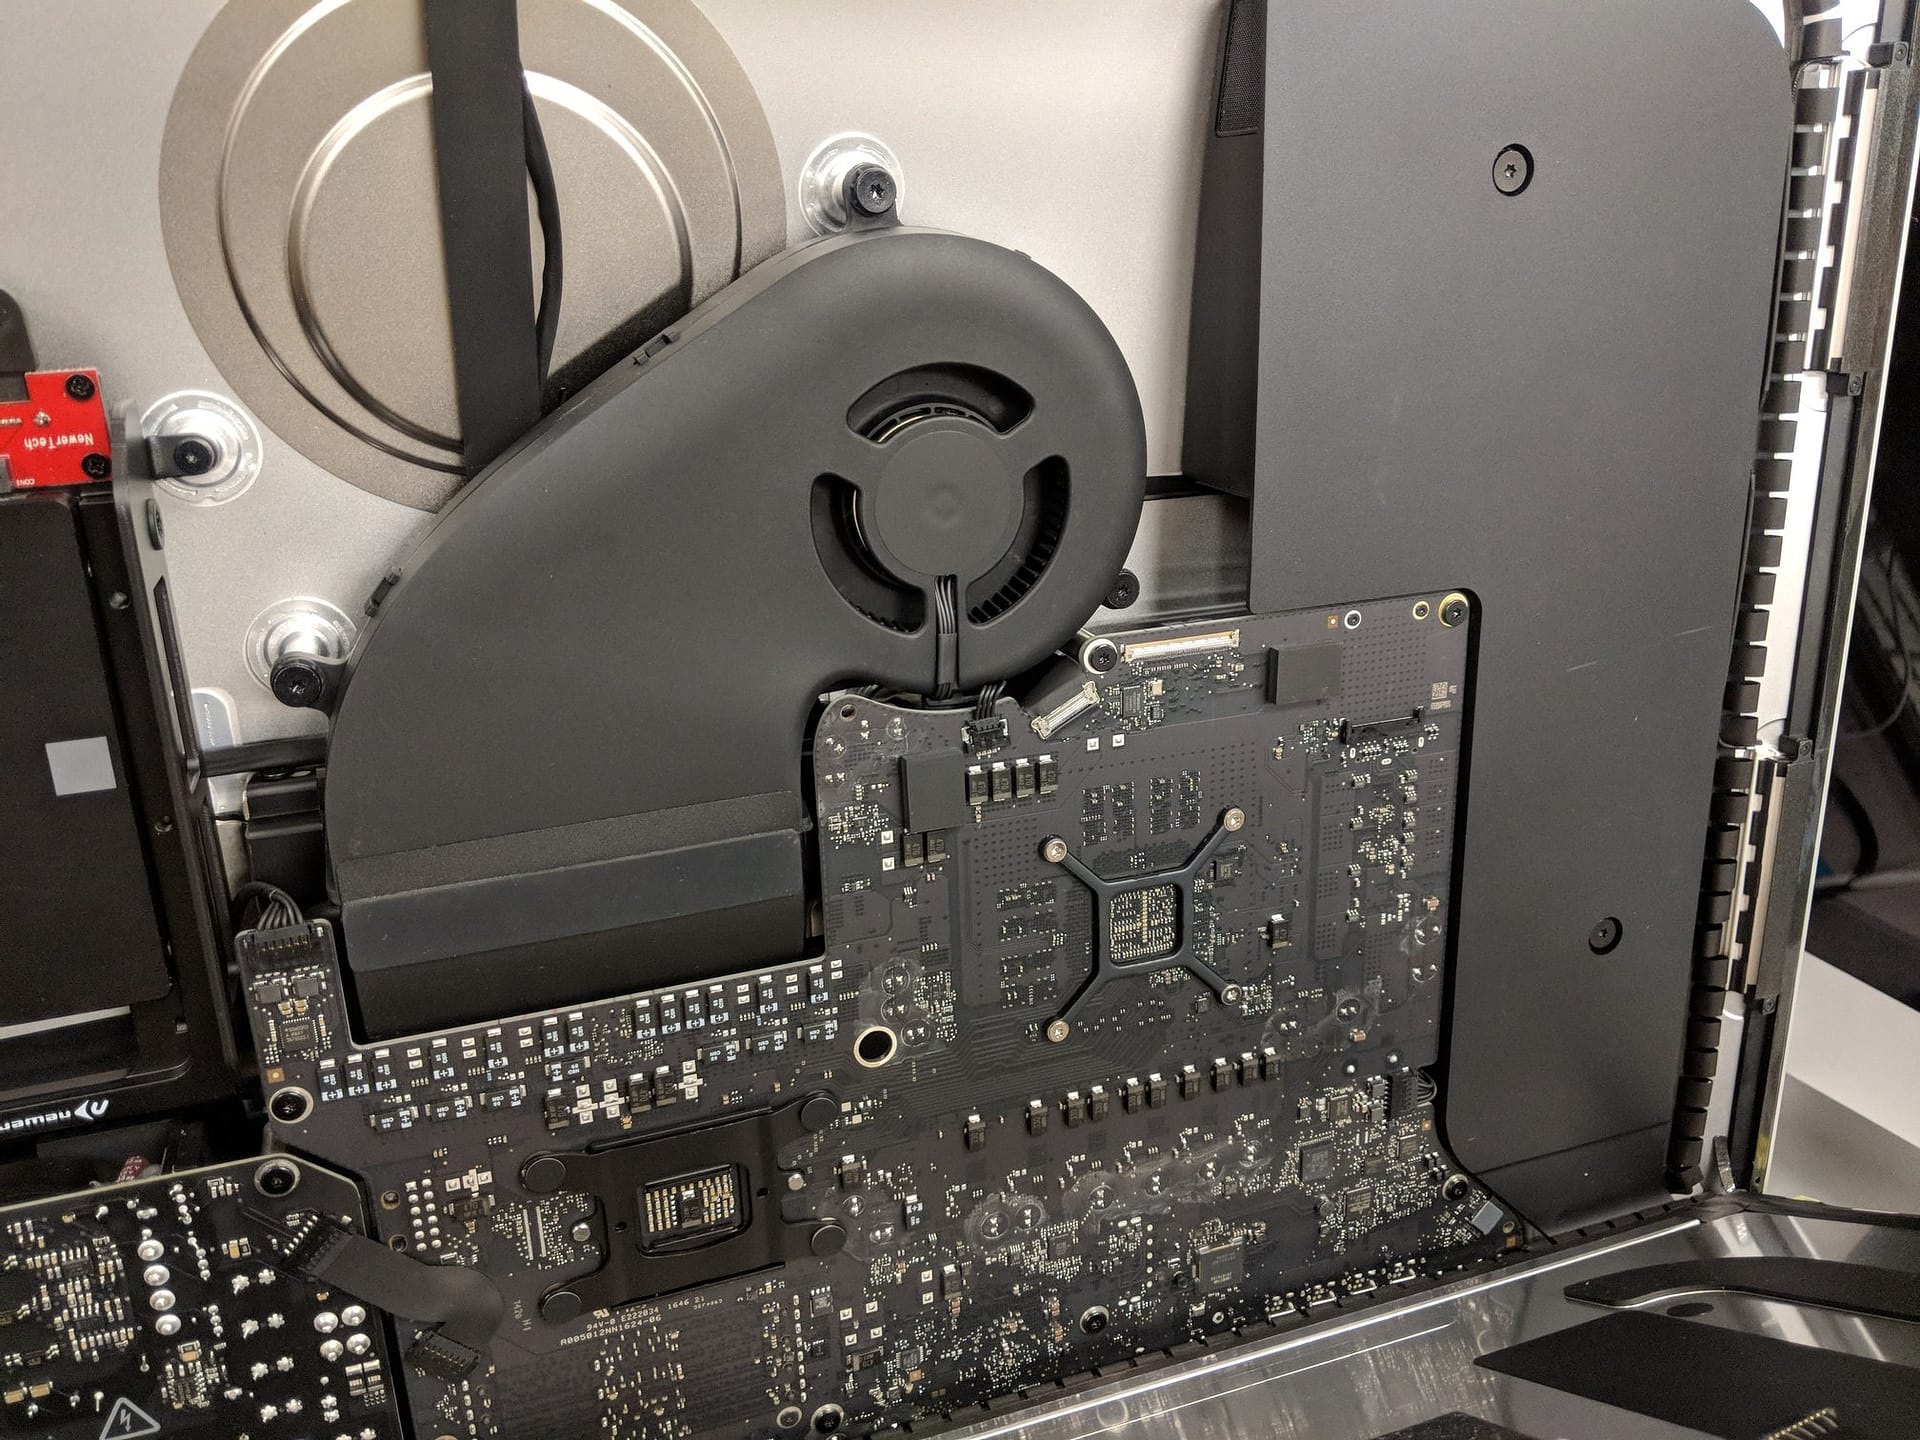
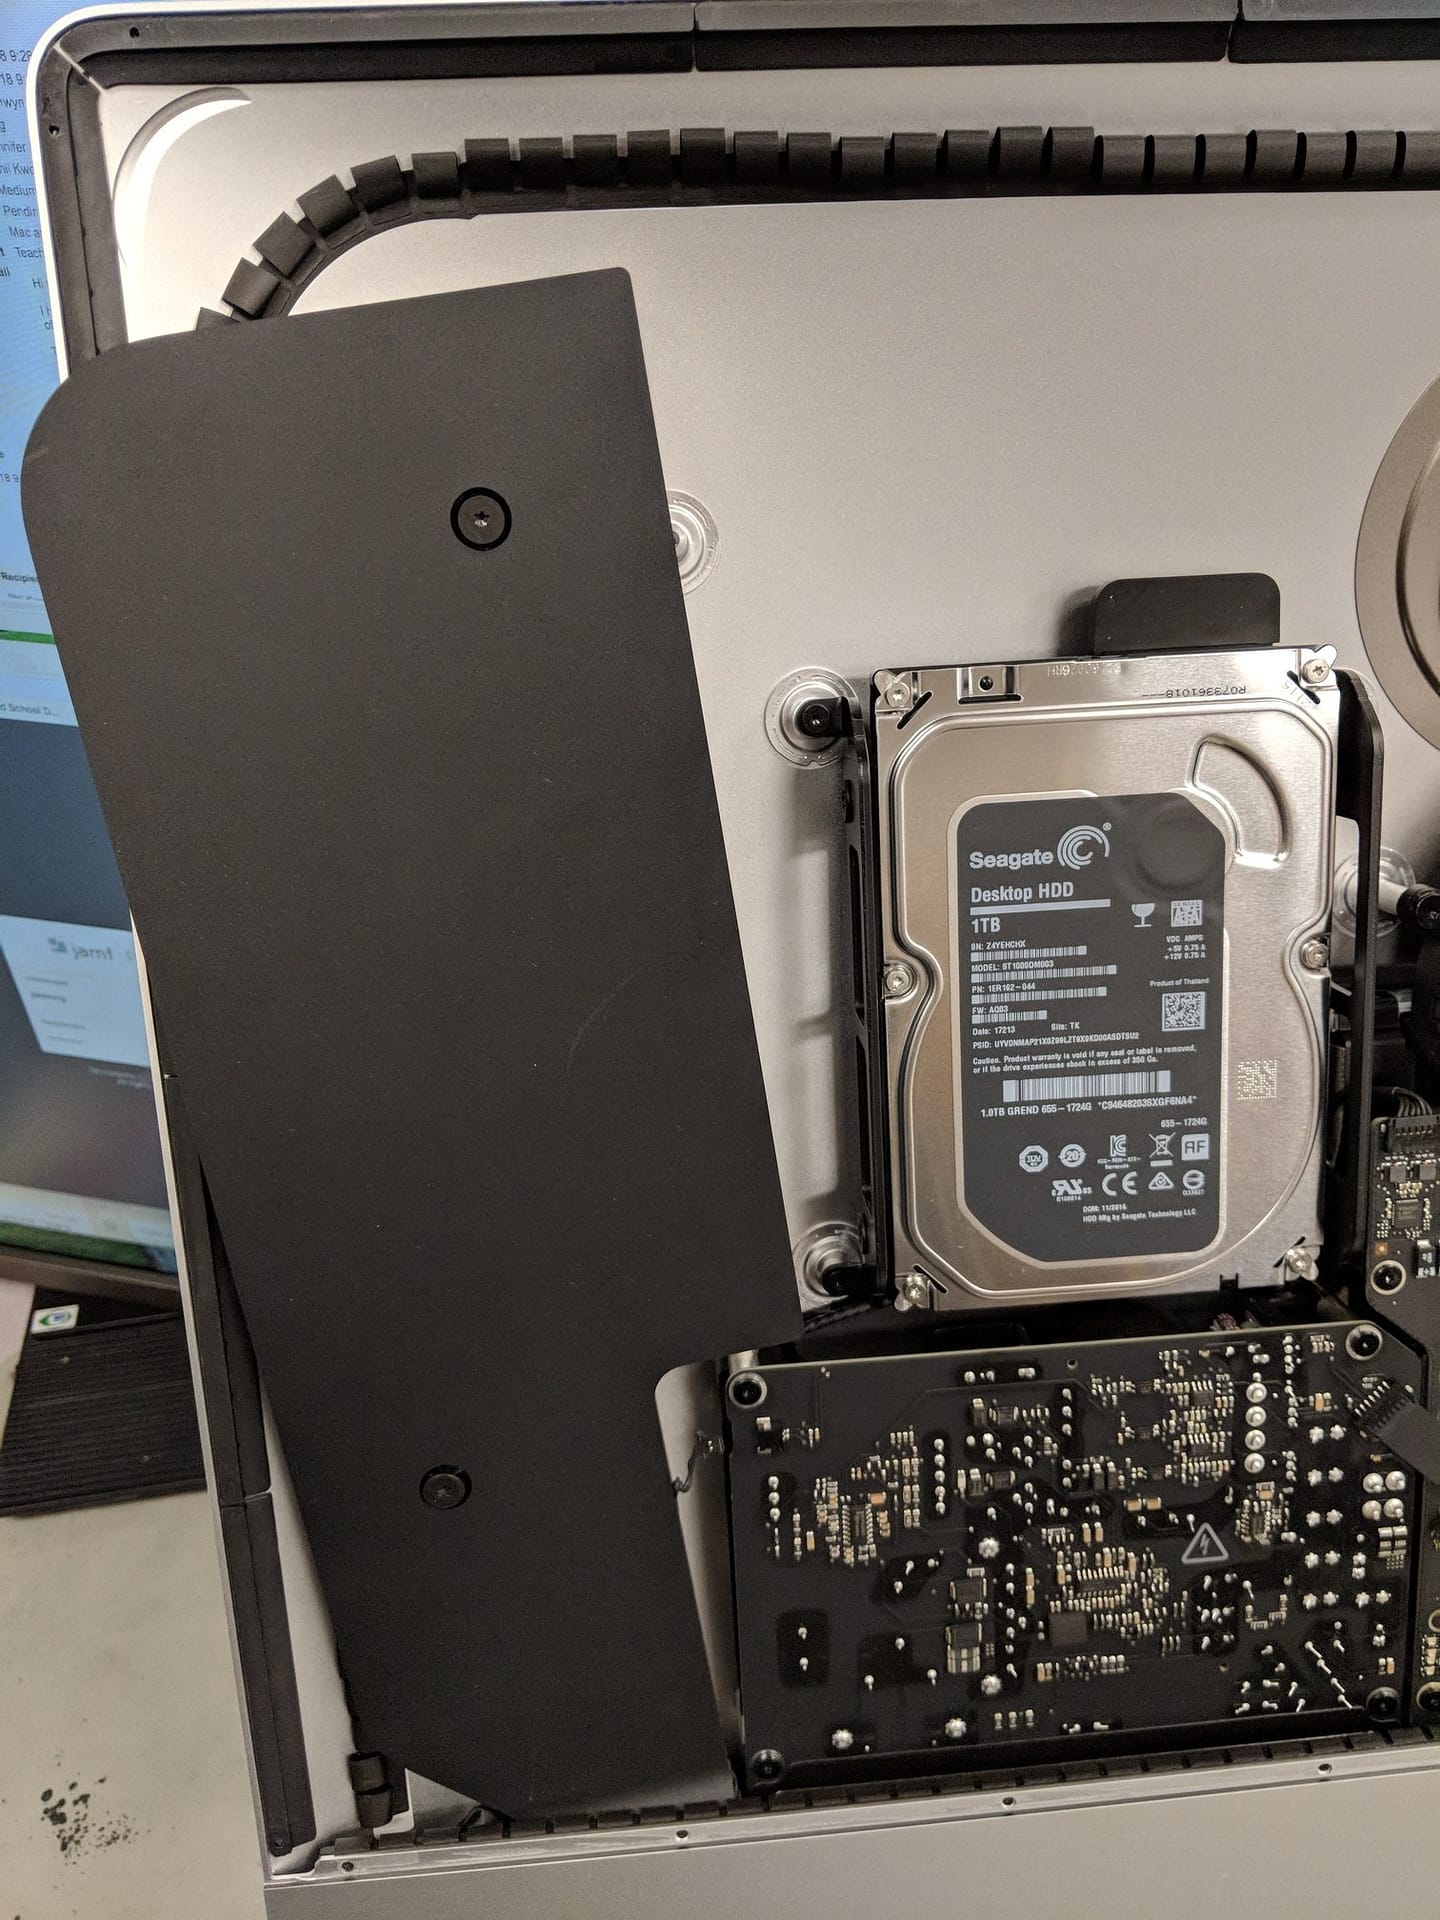
The hard drive is secured in a couple of brackets held by 2 screws on each side. I only need to remove the left side of the bracket and the hard drive will be come off. In order to save some time, I removed the speaker cable from the power supply by sliding it to the left, remove the only screw near the top of the speaker and slide the speaker assembly to the left, just enough to expose the screws below without removing the speaker completely. At this time, I remove the cable from the top of the hard drive before I remove the 2 screws on the left bracket under the left speaker.
Now is a good time to take a break, and clean out any dusts inside the unit.
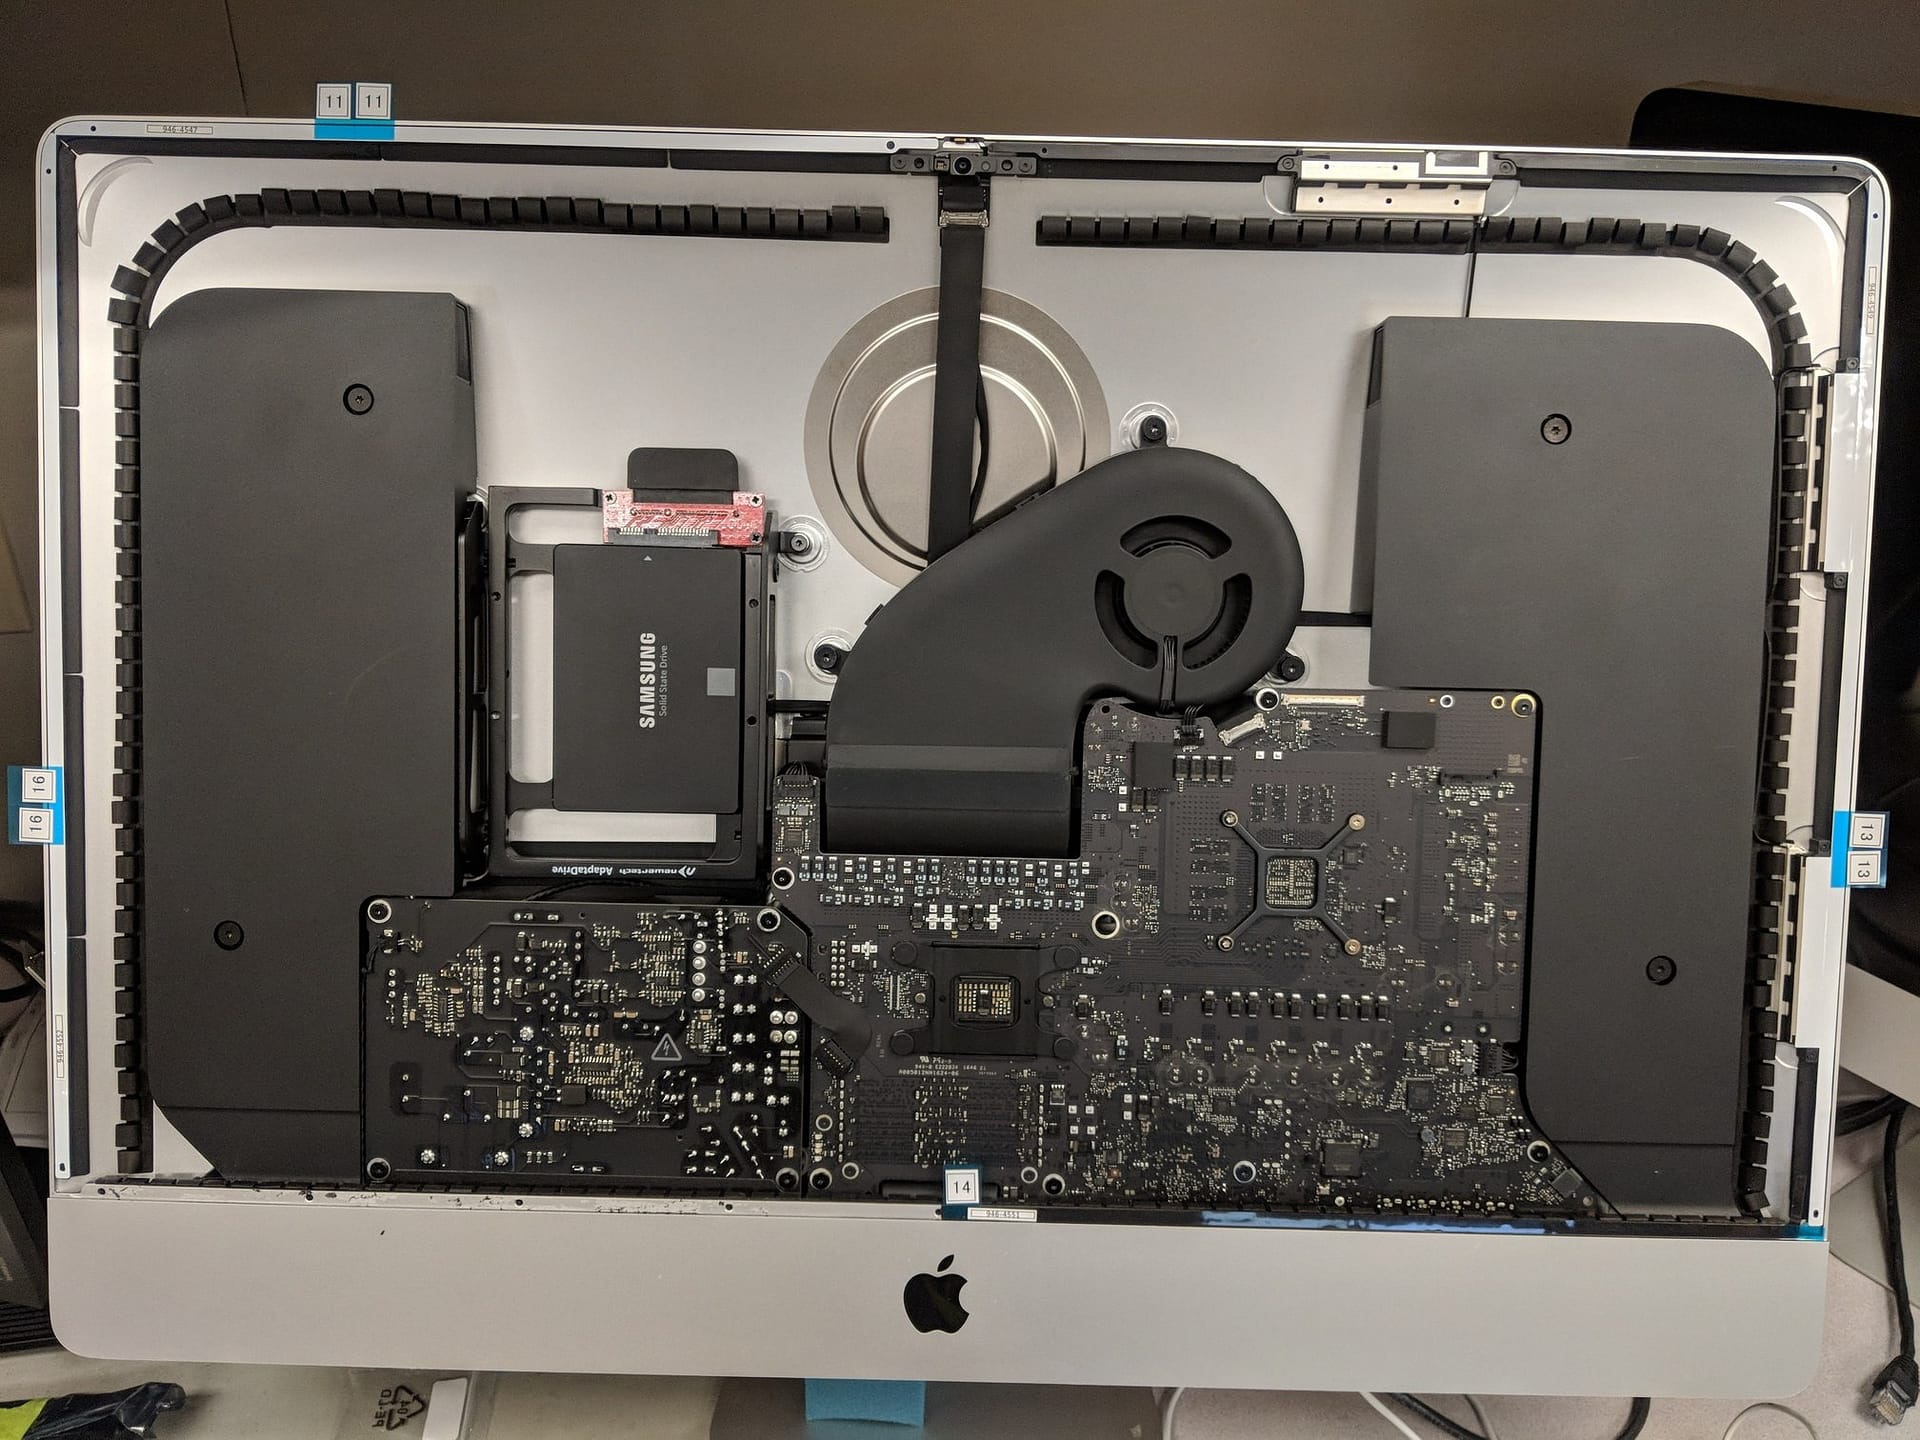
Because I am using an SSD, I use the SSD upgrade kit from OWC; which includes the HDD thermal sensor, 27″ adhesive (garbage, read on) and the 2.5″ to 3.5″ drive adapter. I install the 2.5″ SSD to the drive adapter, then transfer the 4 hard drive pins from the iMac hard drive. For SSD, I do not need the HDD thermal sensor. The sensor is required for mechanical drive only; without the sensor, the fan will run at full speed and fail the Apple diagnostic and possibly cause the processor to run at a throttled speed.
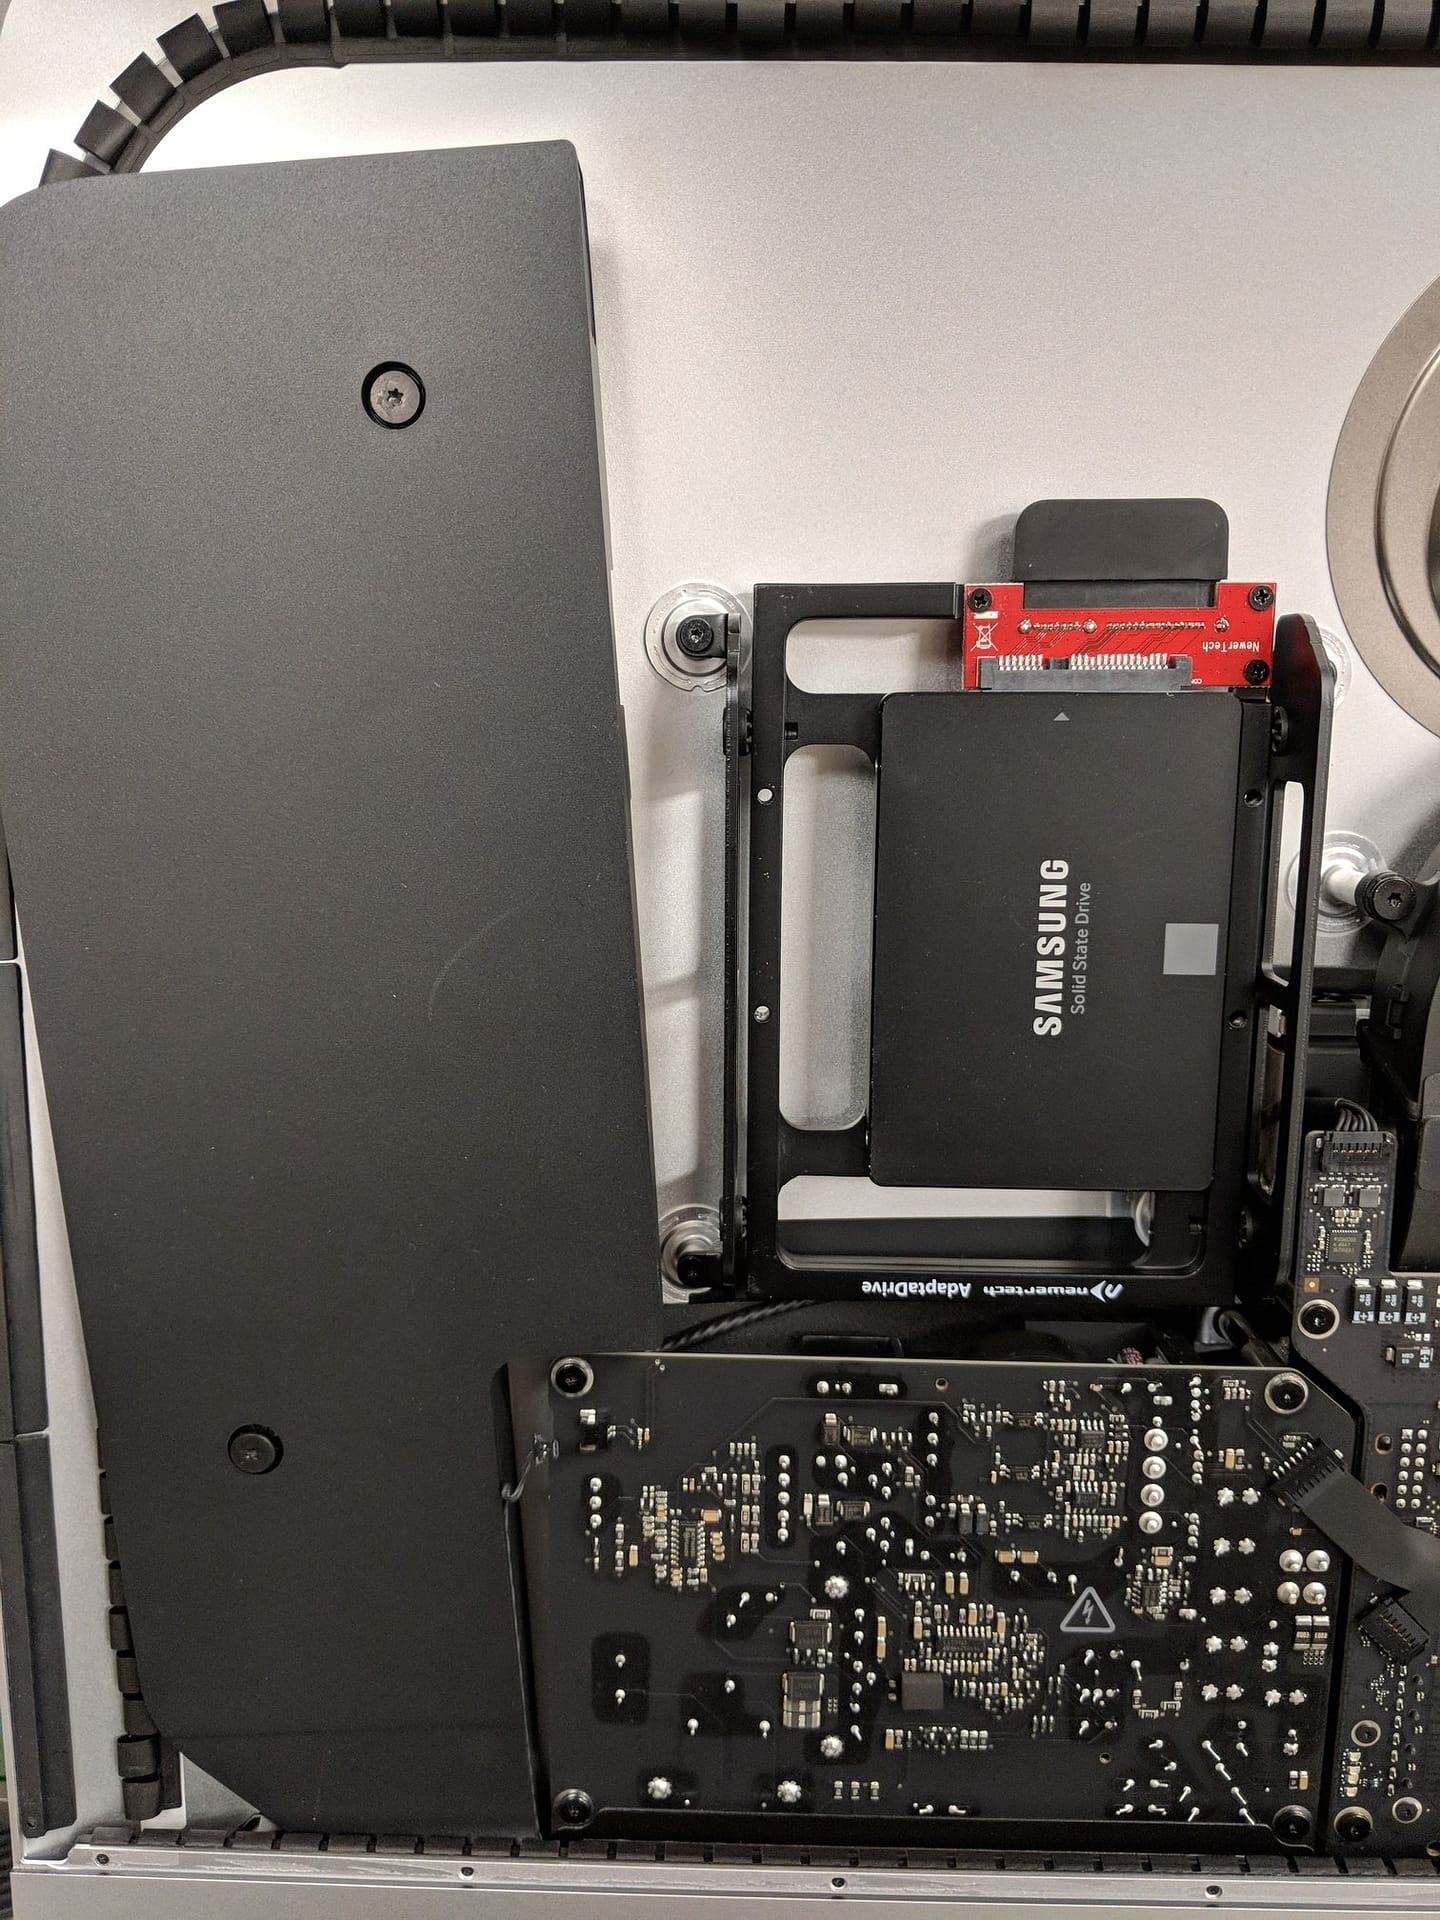
The rest is just the reverse of the take apart steps. I mount the new drive to the bracket on the right by inserting the 2 pins into the holes on the bracket, then apply the left bracket and secure with the 2 screws. I slide the left speaker back, align it to the screw hole before putting the screw in and plug in the cable. The iMac should look similar to the original.
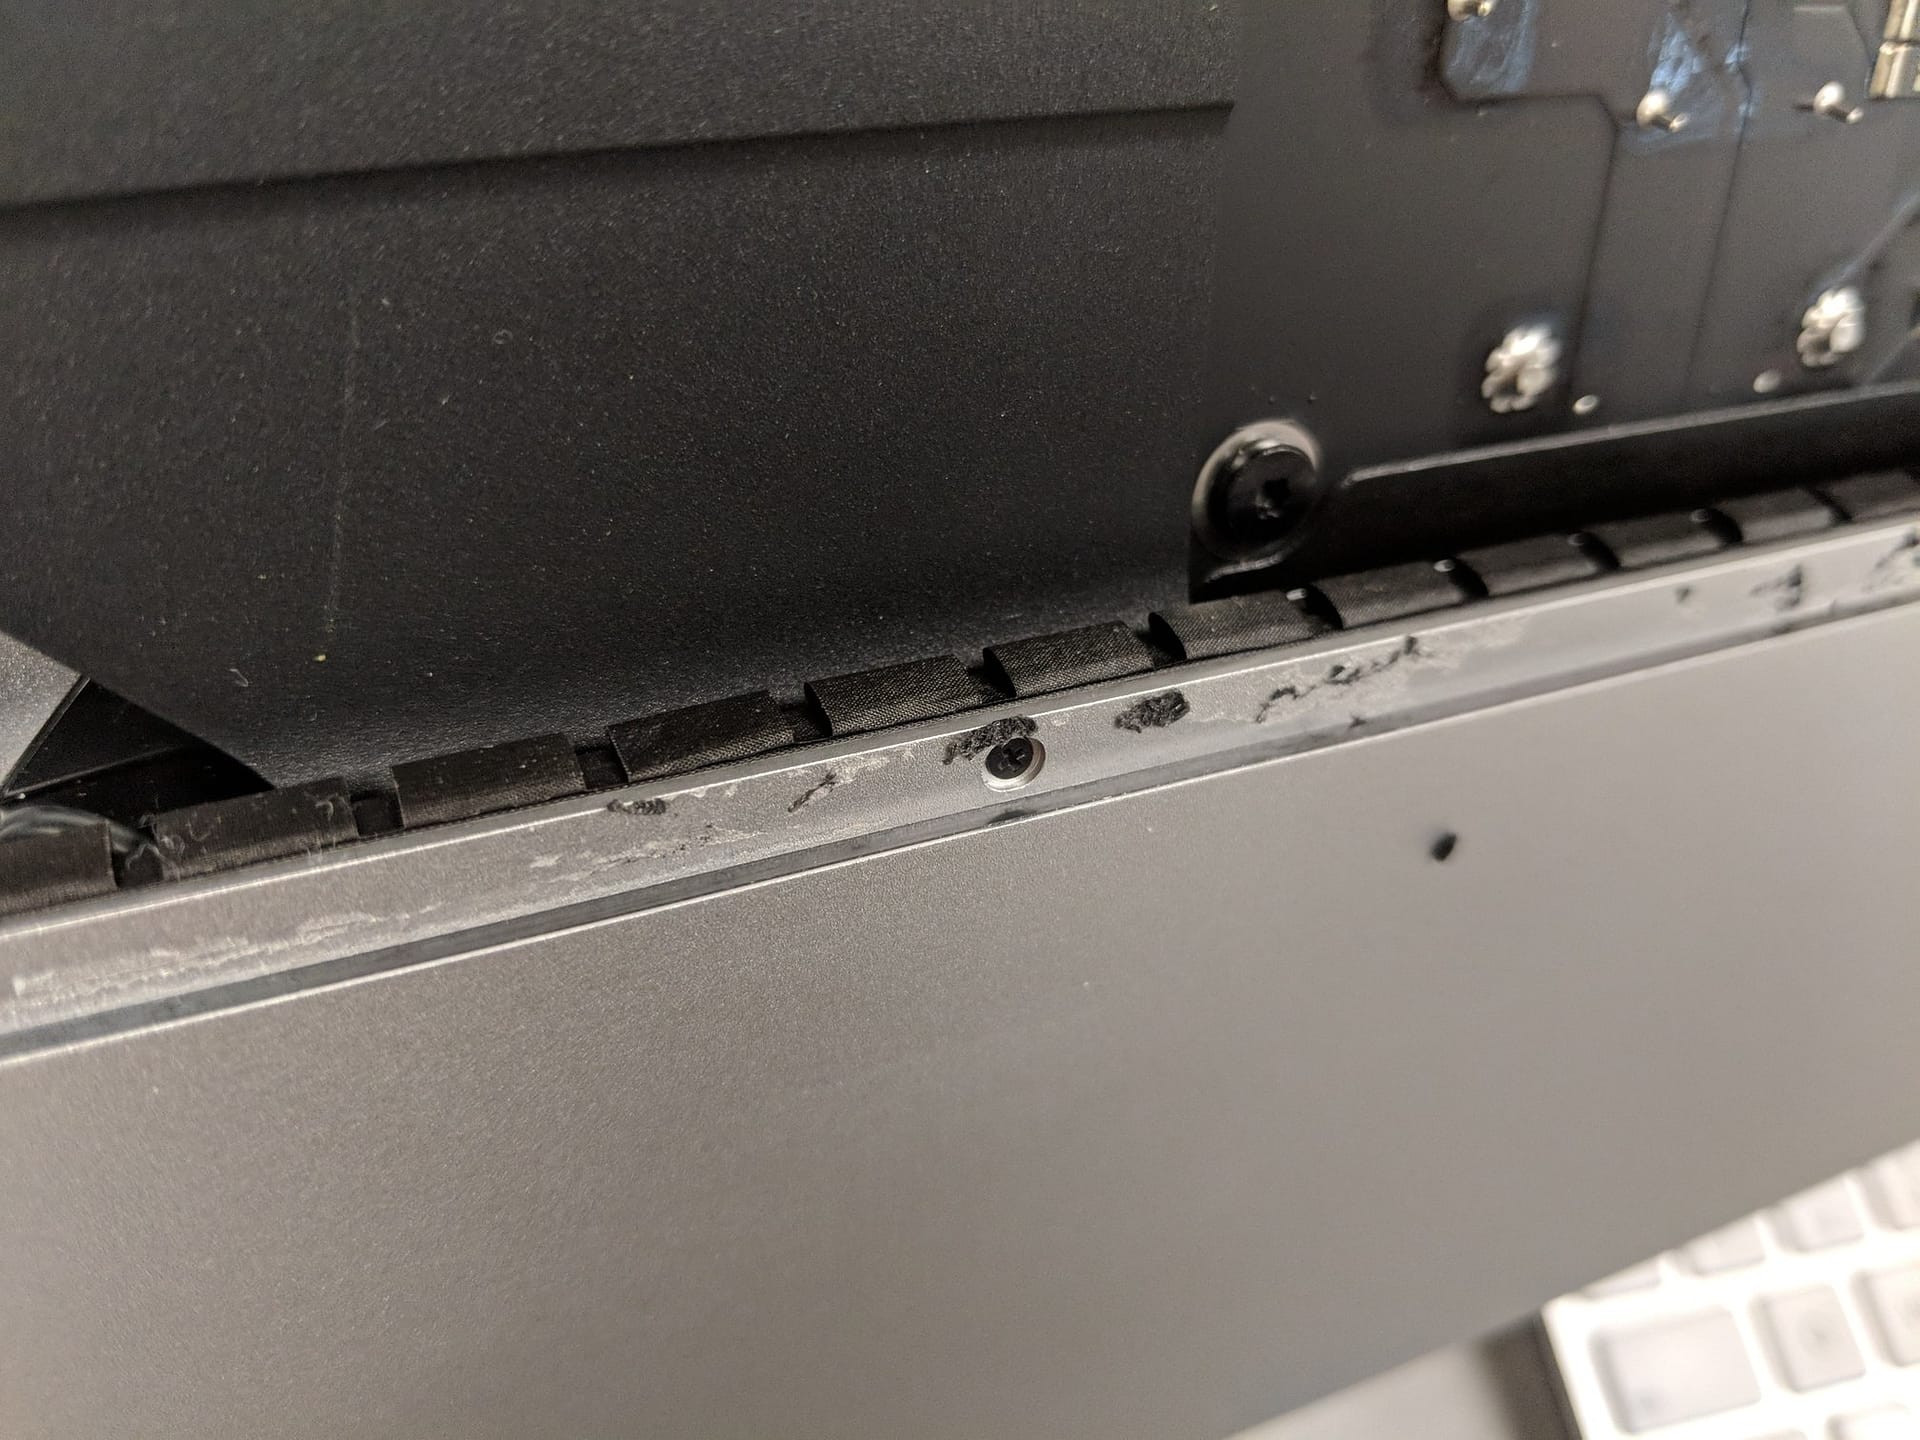

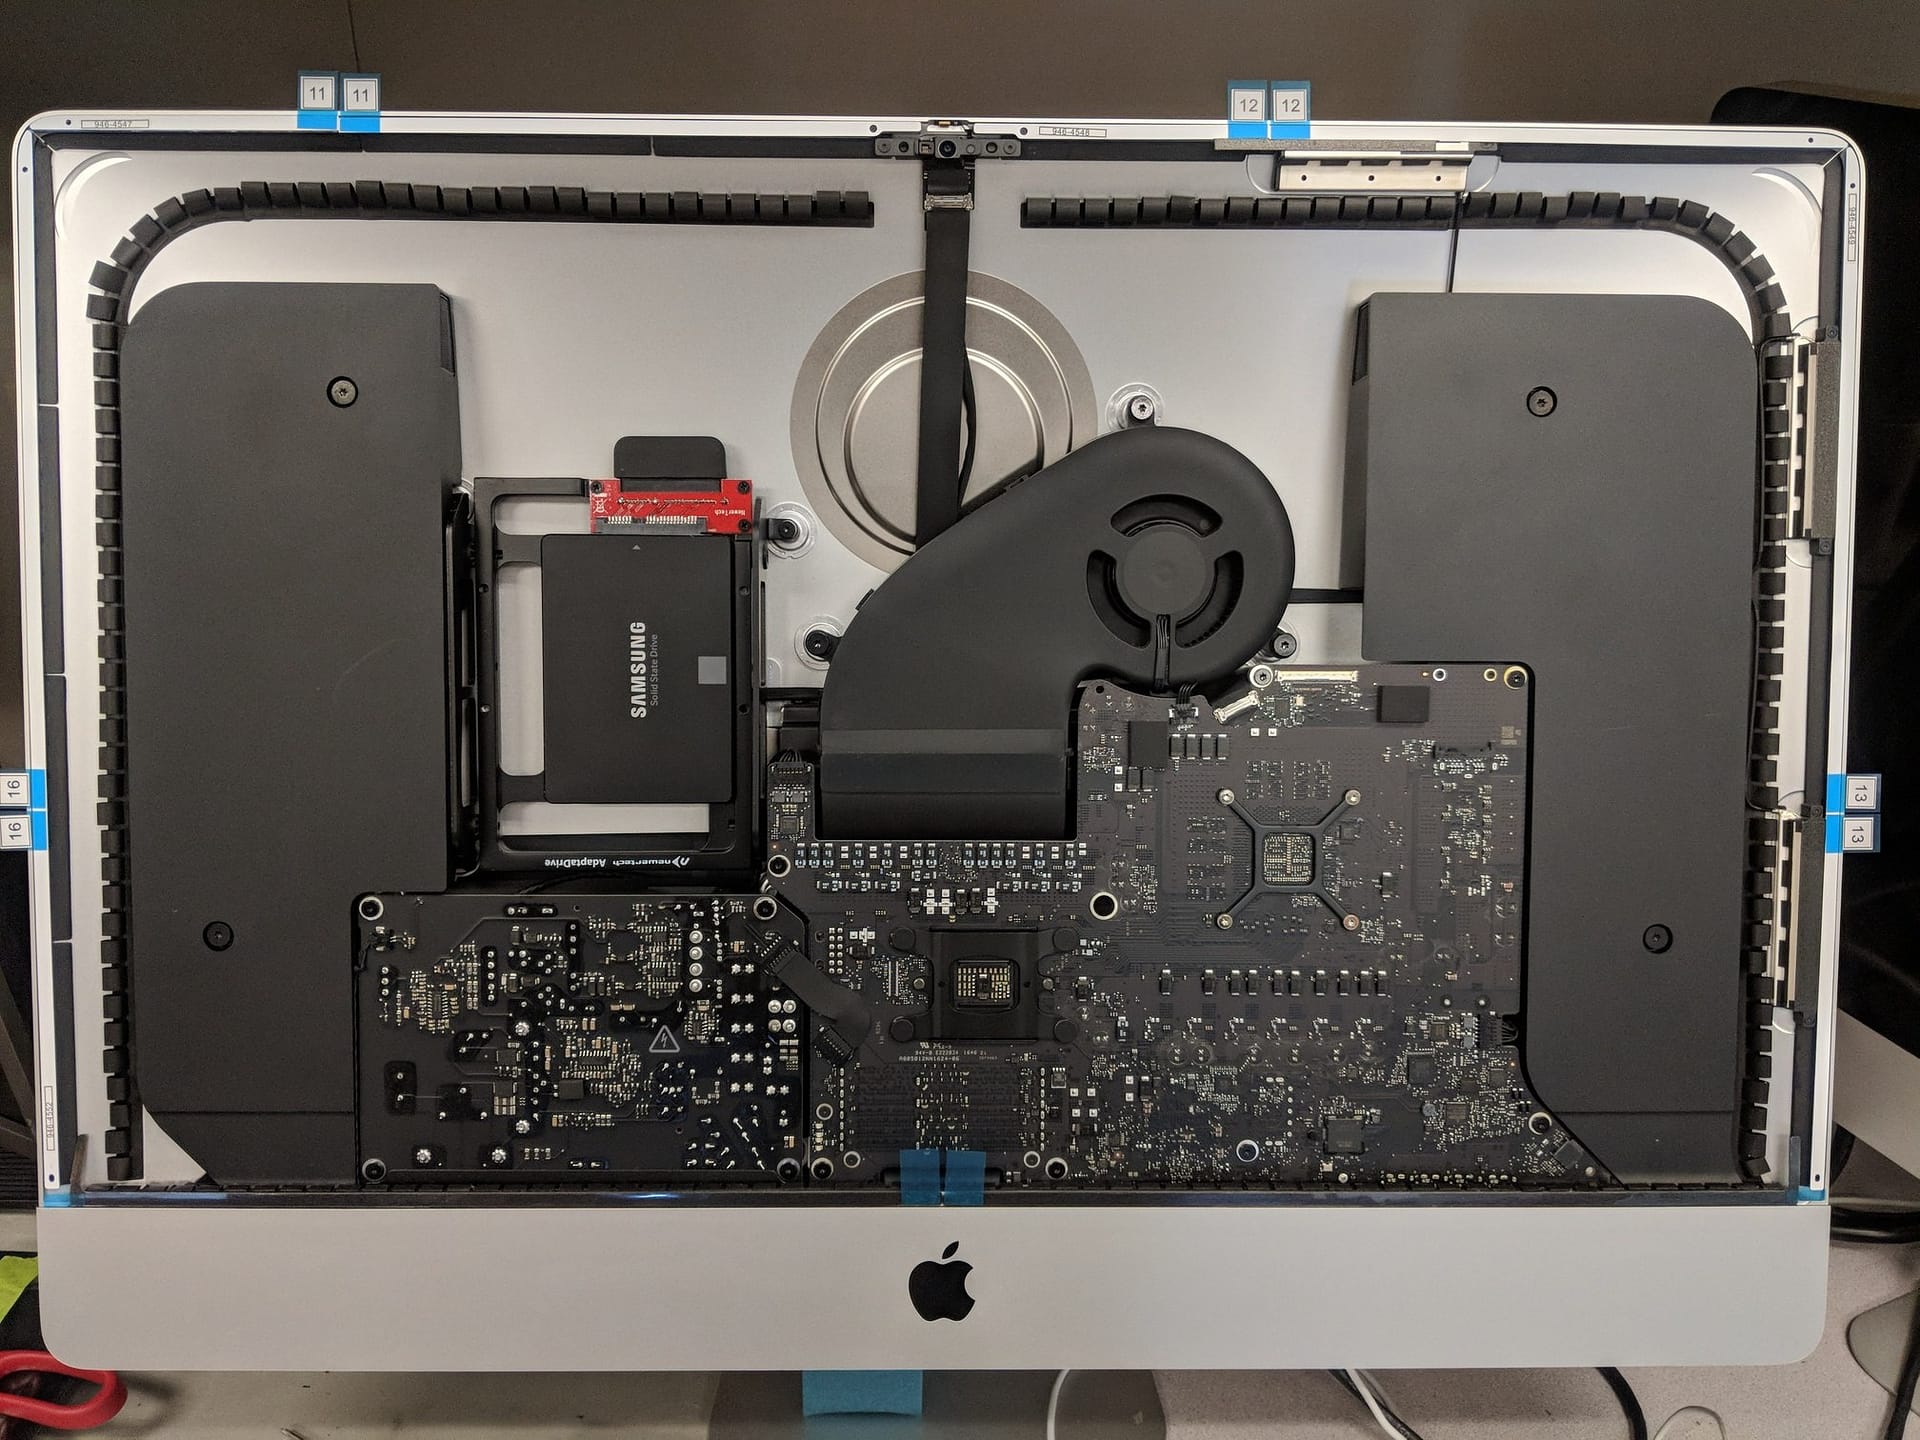
The replacement adhesive OWC provided is garbage; as I am putting them on, I notice they become soft and stretchy. They also will shred to pieces and leave a lot of residue when I remove them. As much as I try to use those, I can’t recommend them and I use the official Apple strips instead. The Apple strips apply cleanly and evenly and does not stretch, the hole on the top aligns perfectly with the black stick. I have no trouble setting them up on all 4 sides. On the 2015, the antenna placement is slightly off, even the padding on the antenna does not match up, it can still be used. For the bottom strips, I prefer to start from the small black screws just above the Apple logo and run the strip along the channel, the “L” shape should land next to the vertical strip on the left and right side, not touching.
Re-Installing The Display
To install the display, I ensure the display foam is still secure, and I carefully put the display onto the housing. Immediately I apply a new strip of green tape across the bottom of the display to prevent it from falling. Then I line up my finger along all 3 sides to ensure the the glass and the housing is flush. The bottom 2 corner of the glass and the housing lip should be smooth, it should not be sharp if they are flush.
Holding up the glass with one hand, tilting down the display at 90 degrees angle again. I pushed the glass inward slightly to ensure the bottom of the glass is touching the “lip/channel” of the housing and centered (flush). If this is not done correctly then the glass will be shifted causing a gap and uneven placement. This takes a few practices to get it right because once the adhesive is applied, the adhesive will have to cut and I will have to do it again.
While holding the glass at 90 degrees angle, once the bottom of the glass nicely aligned and flushed to the housing, I remove the bottom adhesive first (only the bottom 2 strips for now). I slowly close the display while my other hand is holding onto the bottom of the glass in case it slips and falls. I perform a final check to ensure the left and right are flushed. I tilted the glass outward again (and hear the bottom adhesive makes crackling noise as they rip slightly) and remove the remaining left, right and top sides of the strips. I also then re-connect the LCD temperature, signal and power cables. Finally, I push the glass to the housing and run my finger across all 4 sides to ensure a perfect adhesion.
Final Testing and Installing The OS
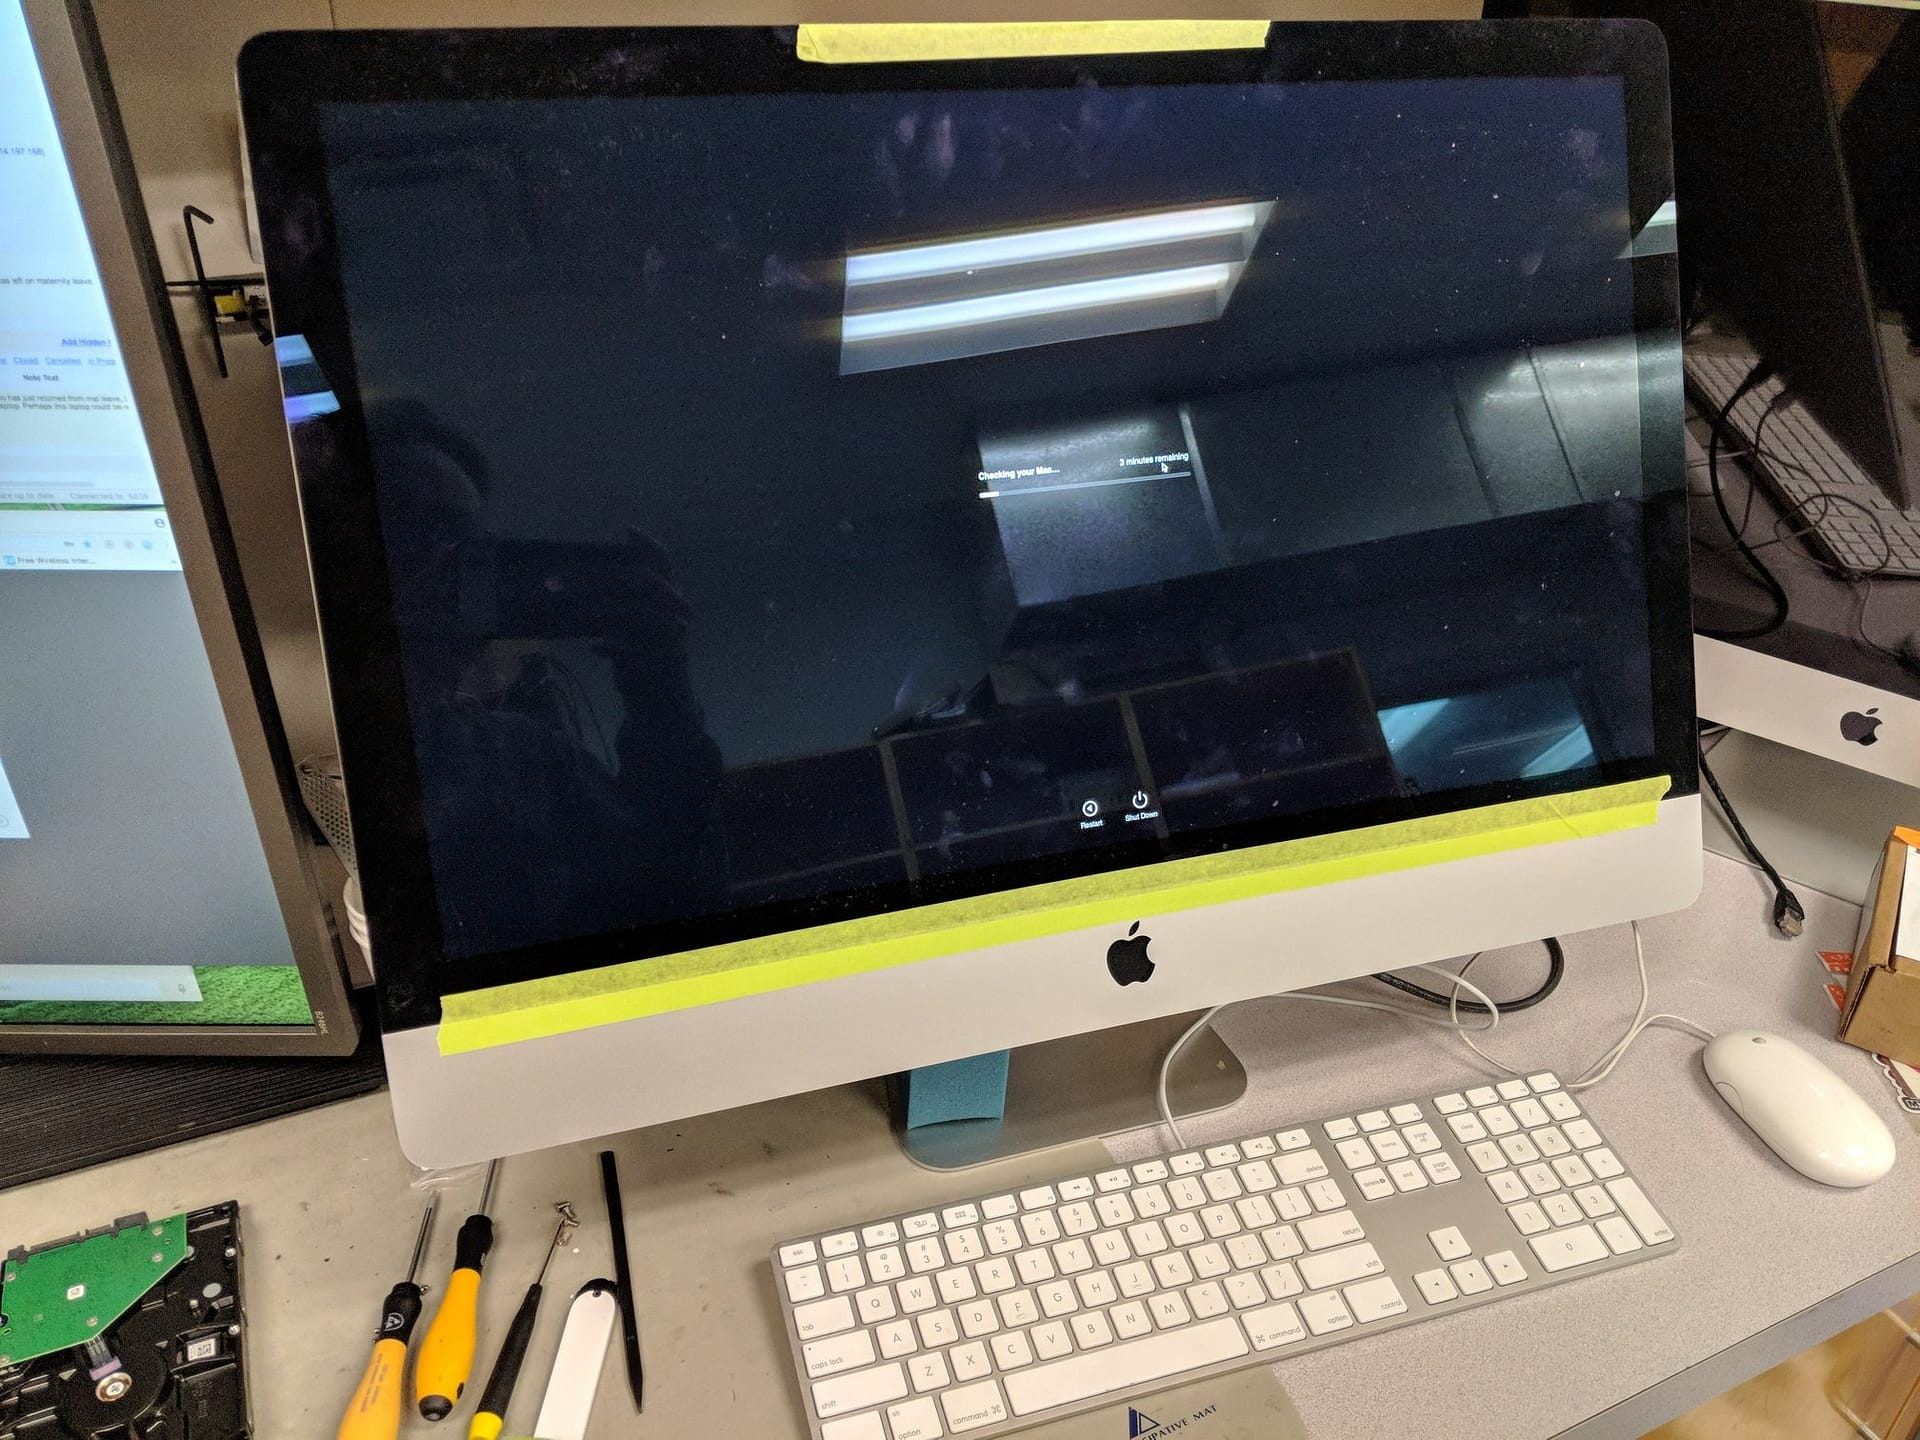
Once everything is back in place, I power up the iMac and run the Apple Service Diagnostic to ensure everything checks out. The SSD without the inline sensor work beautifully with the iMac without failing any of the sensor tests. I install the OS and everything seems to be a lot quicker.
Because I am not using an Apple branded SSD, I have to enable TRIM manually by using Terminal:
sudo trimforce enableType Yes a couple times and the computer reboots.
All done!